


Stop the Plumbing Leak Fast
To fix a plumbing leak, act fast: shut off the water supply and power if needed, find the leak source, use a quick DIY repair such as plumber’s tape or epoxy putty for a minor leak, and make a permanent repair or call a plumber if the damage is severe. A plumbing leak doesn’t wait for a convenient time. Whether it’s a slow drip that quietly inflates your water bill or a sudden gush that soaks your kitchen floor, every minute counts. Left unchecked, even minor leaks can cause structural damage, mold growth within 24 to 48 hours, and insurance claims that average around $15,400 per incident across the United States.
If you’re a homeowner or renter dealing with a leak and trying to decide whether you can handle it yourself, these are the steps that matter first. You open the cabinet under the sink and find a puddle. You hear water running behind a wall when every faucet is off. Or worse, a broken pipe bursts in the middle of a freezing night and turns your hallway into a wading pool. These are the moments when knowing what to do-and doing it quickly-makes all the difference.
This guide walks you through stopping the leak quickly, making the area safe, tracking down pipe leaks, applying DIY fixes for leaky pipes and minor leaks, making permanent repairs, knowing exactly when to pick up the phone and call a professional plumber, and preventing future leaks. Hidden leaks can cause unexpected rises in water bills long before you notice visible damage, and minor leaks can escalate into larger problems if not addressed. For major or catastrophic situations, professional leak repair is often the safest and smartest move.
Let’s get started.
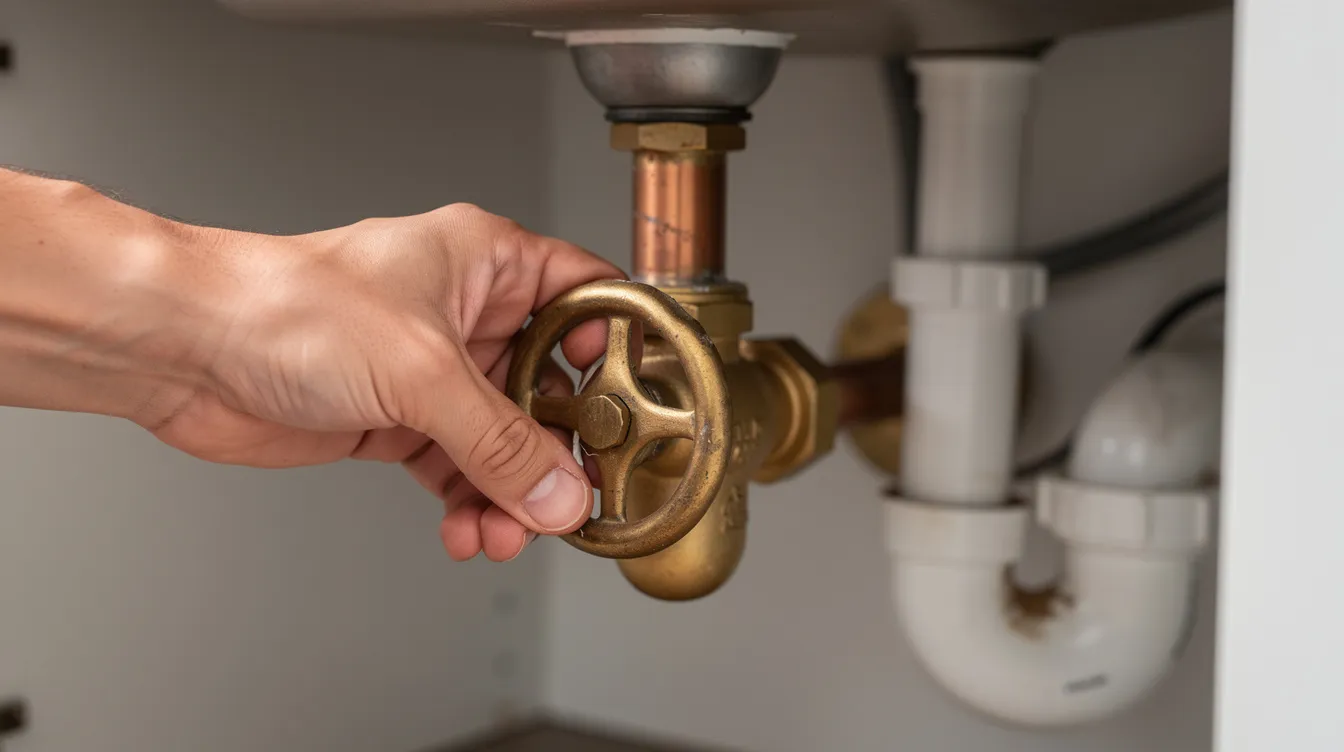
Step 1: Make the Area Safe and Shut Off the Water
Before you grab a wrench or a roll of tape, your first priority is safety. Water and electricity are a dangerous combination, and a spreading leak can cause further damage to floors, cabinets, and drywall faster than you’d expect.
Here’s what to do right away:
- Shut off the main water supply before attempting plumbing repairs. If you can identify the specific fixture that’s leaking-a sink, toilet, or water heater-look for a local shutoff valve first. These are typically small oval or lever-style handles on the water supply line feeding that fixture. Turn the valve clockwise to close it.
- Shut off the main water valve immediately if the local valve doesn’t stop the flow, if you can’t find a local shutoff, or if the leak is on a main line. The main valve is usually located near your water meter, at the point where the supply enters your home.
- Open a nearby faucet after shutting off the valve. This relieves residual pressure in the line and reduces the force of water still pushing toward the leak.
- Place a bucket, shallow pan, or towels directly under the leak to catch any remaining water. Protect cabinets, flooring, and any stored items from water contact.
- Turn off power at the breaker if water is anywhere near electrical outlets, appliances, light fixtures, or your water heater. Never touch electrical components while standing in water or on a wet surface.
- Move valuables and electronics out of the affected area to prevent additional loss.
These steps buy you time and create a safe workspace. Once the water is off and the area is secure, you can start investigating the source of the problem without rushing or risking injury.
Step 2: Find the Source of the Pipe Leak
Locating the exact spot where water is escaping is one of the most important-and sometimes most frustrating-parts of the process. Water often moves away from the real leak before visible signs appear, traveling along the outside of pipes, across joists, and through drywall before dripping into view far from the actual failure point. Small plumbing leaks can be hard to locate, especially when they’re behind walls or under floors.
Use these practical detection steps to find the source:
- Dry all visible pipes with a clean towel or rag. Then slowly turn the water back on to low pressure and watch carefully. The first spot where moisture reappears is likely your leak or very close to it.
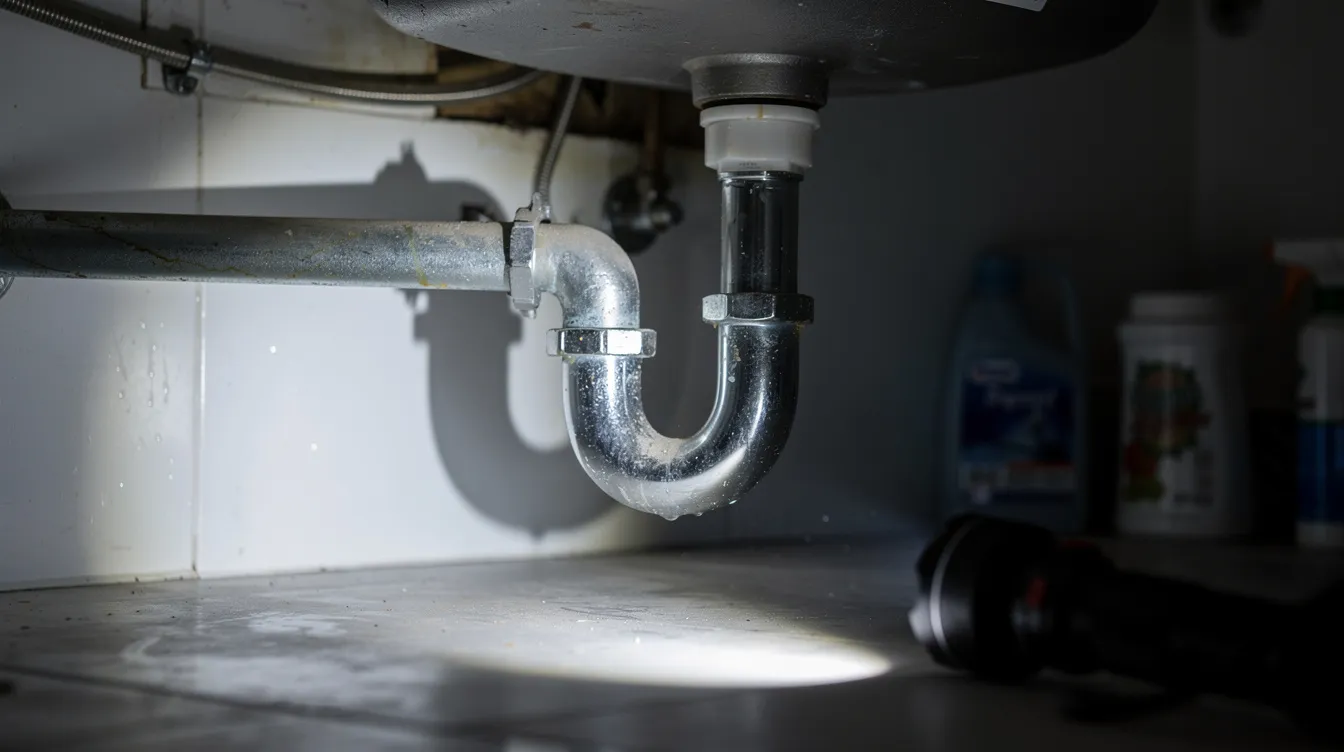
- Check common trouble spots methodically. Focus on threaded joints, shutoff valves, flexible supply lines, P-traps under sinks, and mid-run sections of copper pipe or PVC. These are the areas where connection failures and corrosion most commonly occur.
- Use a flashlight and a dry tissue or paper towel. Run the tissue along the pipe slowly. When it picks up moisture, you’ve found your spot. This technique is especially useful for finding hairline cracks or pinhole leaks that are nearly invisible to the naked eye.
- Visual inspections can help detect leaks under sinks and around water heaters. Look for mineral deposits, green corrosion stains on copper, or white residue on galvanized fittings-these all signal a slow, ongoing leak.
- Inspect common areas for wet, rotting, or moldy spots to identify leaks. Discolored drywall, bubbling paint, warped flooring, and musty smells are red flags.
- Check the water meter to detect a plumbing leak. Perform a water meter test to check for leaks by confirming water loss: turn off every fixture and appliance in the house, note the meter reading, wait 30 to 60 minutes without using any water, and check the meter again. If it has moved, you have a leak somewhere in your system.
- Use a pressure gauge to check for pressure drops indicating a leak. Attach it to a hose bib, note the reading, and compare it to your expected range (40 to 60 psi is standard). Identifying a plumbing leak often involves detecting water pressure drops that indicate water is escaping the system.
- Use a toilet dye test to locate leaks in the toilet system. Drop a few drops of food coloring into the tank and wait 15 to 20 minutes without flushing. If color appears in the bowl, the flapper or flush valve is leaking. Toilets are among the most common sources of hidden water waste.
When the leak is likely hidden-you hear the sound of running water behind a wall, notice damp or warm spots on concrete slabs, or see persistent moisture on ceilings-it’s time to call a professional. Professional leak detection services can find tricky leaks quickly using acoustic sensors, thermal imaging, and other advanced tools without tearing your home apart. Common leak detection involves checking water meters and investigating wet areas, but concealed leaks often require specialized equipment.
Step 3: Quick DIY Fixes for Minor Leaks
This section covers temporary and semi-permanent repairs for small leaks-the kind of drips and weeps that don’t require tearing out walls or replacing entire pipe runs. These methods are not meant for a severely broken pipe, a burst main line, or pipes that are heavily corroded throughout.
These fixes work best on exposed pipes, slow drips at joints, and non-critical lines. They buy you time until you can complete a permanent repair or have a professional come out. The key products to keep on hand include plumber’s tape (also called teflon tape), epoxy repair putty, silicone self-fusing repair tape, and pipe repair clamps. You can apply temporary fixes using materials like epoxy putty and tape to stabilize the situation.
Before applying any of these products:
- The water supply must be shut off and pressure relieved.
- The pipe surface must be dry and clean. Cleaning the pipe surface around a leak ensures a proper seal and gives repair materials the best chance of holding.
- Use appropriate sealants or clamps to stop a plumbing leak based on the type and location of the damage.
One important note: none of these methods are a substitute for replacing a badly corroded, cracked, or failing section of pipe. They are a bridge, not a destination.
Use Plumber’s Tape on Leaky Threaded Connections
Plumber’s tape-also known as PTFE or teflon tape-is the go-to fix for drips that occur at threaded joints on metal or plastic pipes. It’s inexpensive, available at any hardware store, and easy to apply correctly with a little care.
Here’s how to do it right:
- Shut off water and drain the line. Disconnect the leaking joint. You may need two wrenches-one to hold the fitting steady, one to turn the pipe or connection.
- Remove old tape or pipe compound from the male threads using a clean rag or a nylon brush. Make sure the threads are clean and free of debris. Any residue left behind is a common error that leads to a poor seal.
- Wrap plumber’s tape around threaded pipe connections. Start at the end of the male threads and wrap clockwise-the same direction the fitting tightens. Apply 3 to 5 wraps, keeping the tape tight and allowing a slight overlap with each pass. The tape should sit flat against the threads, not bunch up.
- Reassemble the joint by hand first, then tighten using two wrenches. Tighten compression fittings with two wrenches to avoid putting rotational stress on adjacent pipes. Tightening compression fittings can stop leaks in plumbing joints, but be careful-overtightening can crack the fitting, especially on plastic.
- Test by slowly turning the water back on and watching the connection for several minutes. Plumber’s tape ensures watertight sealing of threaded connections when applied properly, and plumber’s tape ensures watertight sealing of threaded pipe connections for a reliable result.
This fix is typically all you need for a simple threaded connection that has started to weep. If the joint continues to leak after re-taping, the fitting itself may be damaged and should be replaced.
Seal Minor Leaks with Epoxy Repair Putty
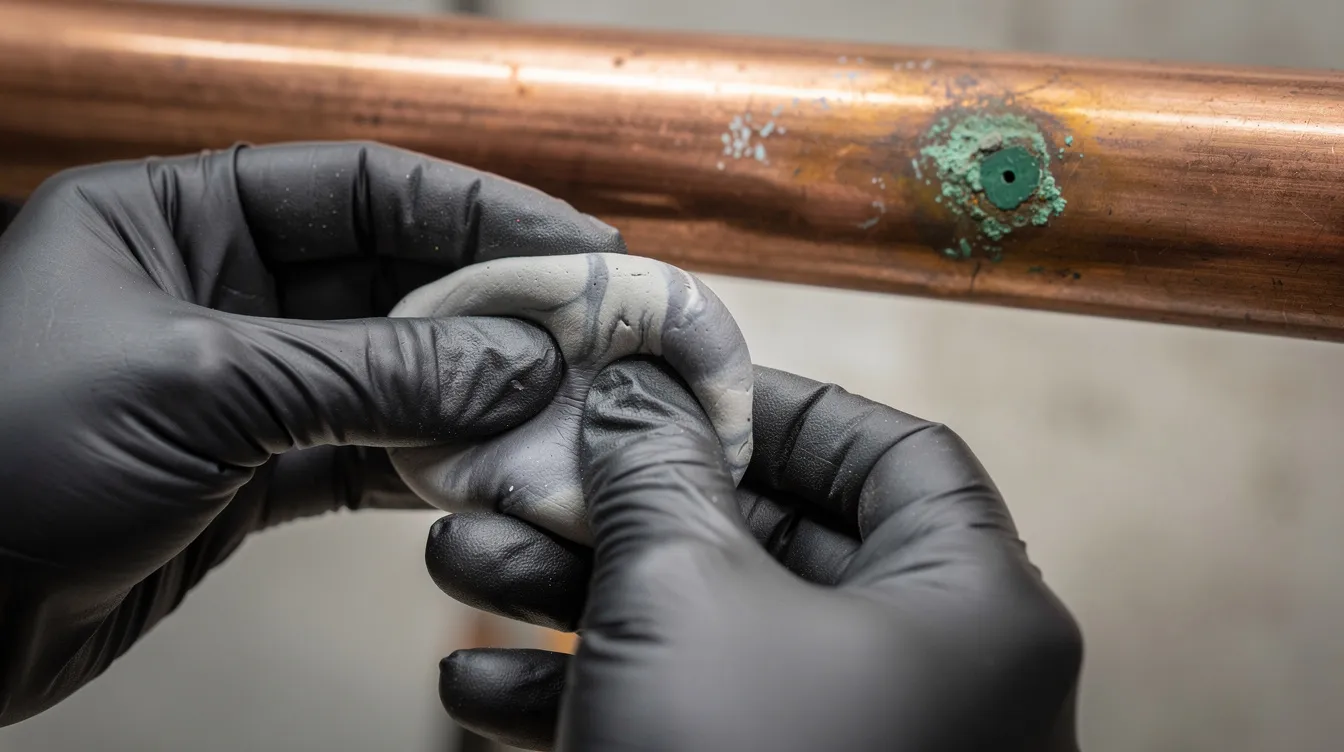
Epoxy repair putty is your best friend when dealing with pinhole leaks, small cracks, and corrosion spots on copper pipe, PVC, or galvanized pipe. It’s a versatile, quick option that works on a variety of materials and can even be applied in less-than-ideal conditions.
Follow these steps for a solid application:
- Dry the area as thoroughly as possible and lightly roughen the pipe surface with fine sandpaper or a metal file. This helps the putty stick securely and creates a mechanical bond.
- Cut or tear off a sufficient piece of two-part epoxy putty. Knead the two components together until the color is completely uniform and the mix feels slightly warm in your hands. This tells you the chemical reaction has started.
- Mold the putty around the leak, pressing it firmly onto the pipe and extending at least 1 to 2 inches past the damaged section in every direction. Smooth the edges so there are no gaps or air pockets. Press it into any irregularities on the pipe surface.
- Allow proper cure time. Most products reach handling strength in 30 to 60 minutes, but full strength-enough to withstand water pressure-can take up to 24 hours. Always follow the manufacturer’s directions. Epoxy putty can be applied to wet surfaces for repairs, though a dry surface always yields a stronger bond. You can use epoxy putty to seal leaks on wet surfaces when drying isn’t possible, making it invaluable for emergencies.
- Epoxy putty is waterproof and compatible with all plumbing materials, including copper, PVC, CPVC, and galvanized steel. That broad compatibility makes it a reliable addition to any homeowner’s emergency toolkit.
Keep in mind that epoxy on an old, heavily corroded section of pipe is only a stopgap. The possibility of the surrounding pipe failing means you should plan to replace that section soon. The application works well as a patch, but it doesn’t address the underlying material degradation.
Wrap Leaky Pipes with Silicone Self‑Fusing Tape
Silicone self-fusing repair tape is a fast, clean solution for minor leaks on low-pressure lines, drain pipes, and under-sink connections. It doesn’t rely on adhesive-instead, self-fusing silicone tape creates an airtight waterproof seal by bonding to itself when stretched and wrapped under tension. Silicone or self-fusing repair tape is used for temporary fixes on low-pressure lines and is not typically rated for high-pressure main supply lines.
Here’s how to apply it:
- Clean and dry the pipe, removing any grease, grime, or loose residue. A clean surface helps the tape conform tightly to the pipe’s contour.
- Start wrapping a few inches before the leak. Stretch the tape as you go-most products need to be stretched to about 50 to 75 percent beyond their resting length to activate the self-fusing bond. This stretch is what makes it work.
- Overlap by half the tape’s width with each pass, building up layers as you wrap past the leak and continue a few inches beyond it. Keep consistent tension throughout. The tape bonds to itself, forming a watertight sleeve. Apply self-fusing silicone tape for minor leaks where you need a fast, no-mess solution.
- Press the final end firmly against the previous layer. There’s no need for clips or adhesive-the material fuses on contact.
This is a temporary fix. It can hold for weeks or even months on a low-pressure drain or supply tube, but you should schedule a permanent repair or professional replacement soon. Don’t rely on it as a long-term solution for any pressurized water line.
Use Pipe Repair Clamps or Patch Kits
Pipe repair clamps offer a robust temporary solution for small cracks or holes in straight sections of pipe. They’re mechanical, reliable, and don’t depend on adhesive or chemical curing.
Here’s how to use them:
- Place the rubber gasket directly over the leak. Center it so the hole or crack is fully covered with gasket material on all sides.
- Position the metal clamp over the gasket and align it so the bolts are accessible.
- Tighten the clamp bolts evenly, alternating between bolts to keep the gasket centered. Avoid overtightening-too much force can distort a thin-walled pipe or push the gasket out of position. Adjust the bolts until the clamp feels snug and the gasket compresses evenly around the pipe.
- Repair clamps can fix leaks in the middle of a pipe run where access to the ends of the pipe is limited or where cutting isn’t practical. Repair clamps are effective for leaks in the middle of a pipe run and are available at most hardware stores in standard residential pipe sizes. Many stores sell full pipe repair kits that include the gasket, clamp, and instructions.
- Fiberglass wrap products are water activated and cure hard like a cast, offering another option for mid-run repairs. These wraps are soaked, then wound around the pipe, where they harden into a rigid shell.
While clamps and fiberglass wraps can last for months, they’re still considered temporary. Replacing the damaged section of pipe is the best long-term fix.
Step 4: Permanent Repairs for Cracked or Broken Pipes
When a pipe has split from freezing, developed a significant crack, or is so corroded that patches won’t hold, cutting out and replacing the damaged section is the only real solution. For permanent repairs, cut out the damaged segment of pipe and reconnect with proper fittings and materials.
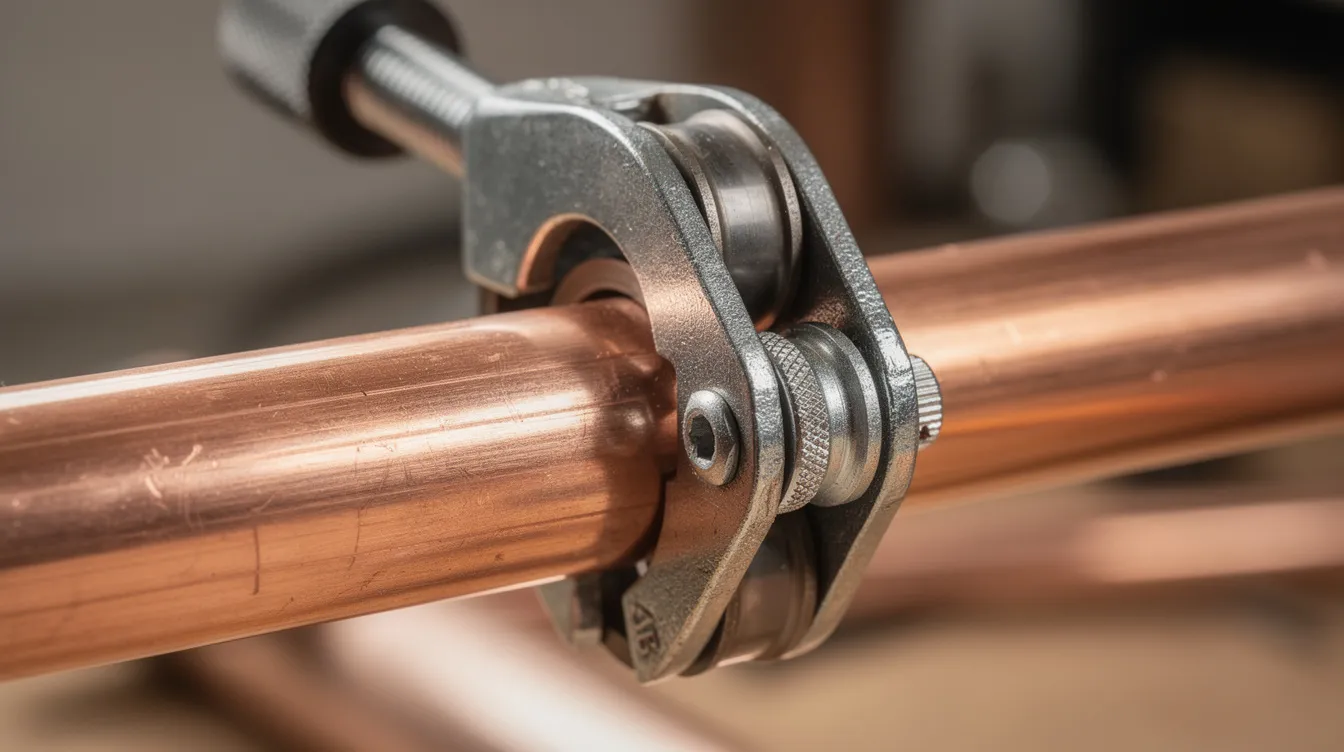
This work typically requires tools like a pipe cutter or hacksaw, a deburring tool or file, measuring tape, and the appropriate fittings for your pipe material-whether that’s copper, PEX, PVC, or CPVC couplings. Modern push-to-connect fittings have made many of these repairs accessible to handy homeowners, but if the pipe run is concealed behind walls, under a slab, or involves the main water supply line, call a licensed plumber. A mistake in a hard-to-reach area can cause far more damage than the original leak.
Cut Out the Damaged Section
- Mark the pipe at least 1 to 2 inches beyond each end of the visible damage. This ensures you remove all weakened material, not just the obvious crack or hole. If you spot corrosion or discoloration beyond your marks, extend them.
- Shut off water and drain the line completely. Open the lowest faucet on that line to let gravity do the work.
- Use a pipe cutter or hacksaw to make clean, square cuts at your marks. A pipe cutter gives the cleanest result on copper or PEX. For PVC, a hacksaw or PVC cutter works well. Avoid using excessive force, which can crush or deform the pipe.
- Deburr and smooth the cut edges with a deburring tool, file, or sandpaper. Rough edges can damage O-rings, seals, or gaskets inside couplings, leading to leaks at the new joint.
- Measure the gap accurately and cut a replacement piece of compatible pipe to fit, accounting for the insertion depth of your chosen fittings. Double-check your measurement before cutting. A common error here is cutting the replacement piece too short-measure twice, cut once.
Install New Pipe and Fittings
The right fitting depends on your pipe material and local building codes. Always verify that your chosen method has permission under your local plumbing code-some jurisdictions restrict certain fitting types, and using non-approved materials can create problems with inspections or insurance claims.
- Push-to-connect (push-fit) couplings are a homeowner-friendly solution that works on copper, CPVC, and PEX without special tools. Mark the insertion depth on each pipe end, then push the coupling and new pipe segment fully into place until seated at the depth mark. These fittings are easy to install and remove if needed. Many brands are now broadly accepted in residential plumbing codes.
- For PVC or CPVC repairs, clean the pipe ends and fitting interiors with a PVC cleaner. Apply primer to both surfaces, then apply solvent cement to both the pipe end and the inside of the fitting. Insert the pipe with a slight twist, hold for 15 to 30 seconds, and allow the cement to cure per the manufacturer’s instructions. Work in a well-ventilated area.
- Copper pipes can be repaired by cutting out the damaged section and soldering. Clean both the pipe ends and the inside of the copper coupling with emery cloth until they’re bright and shiny. Apply flux, assemble the joint, then heat with a propane torch and apply solder. Press-fit copper fittings are an alternative that eliminates the need for soldering, though they cost more per fitting. If you’re not experienced with soldering, decide whether this is a project you’re comfortable with or whether a professional should handle it.
- After completing any repair, run a slow pressure test. Turn the water on gradually, watch each joint for several minutes, and place a dry paper towel underneath as a leak indicator. If the towel stays dry, your repair is holding.
When to Call a Professional Plumber
Some leaks go beyond what a roll of tape and a tube of putty can handle. There’s no shame in recognizing that-knowing your limits is a sign of good judgment, not a lack of skill. A licensed plumber should be contacted for catastrophic leaks or sewer line issues, and there are several other situations where professional help is the smart call.
Call a professional when you encounter any of these:
- Recurring leaks in the same spot, which often indicate a deeper problem like pipe deterioration, incorrect pipe sizing, or a root cause that a surface fix won’t address.
- Multiple leaks appearing at once, suggesting systemic issues-aging pipes, excessive water pressure, or corrosion throughout a pipe run.
- Signs of mold or structural damage-warped floors, stained ceilings, musty odors. Mold begins colonizing within 24 to 48 hours after water intrusion, so speed matters.
- Extremely old or corroded plumbing, especially galvanized steel or polybutylene pipe found in pre-1960s and some pre-1990s homes. These materials often need full replacement, not just patching.
- Leaks behind walls, under concrete slabs, or in ceilings where you don’t have safe access without significant demolition.
- Any situation involving a main water supply line or gas line. These are high-stakes repairs where an error can be dangerous and costly.
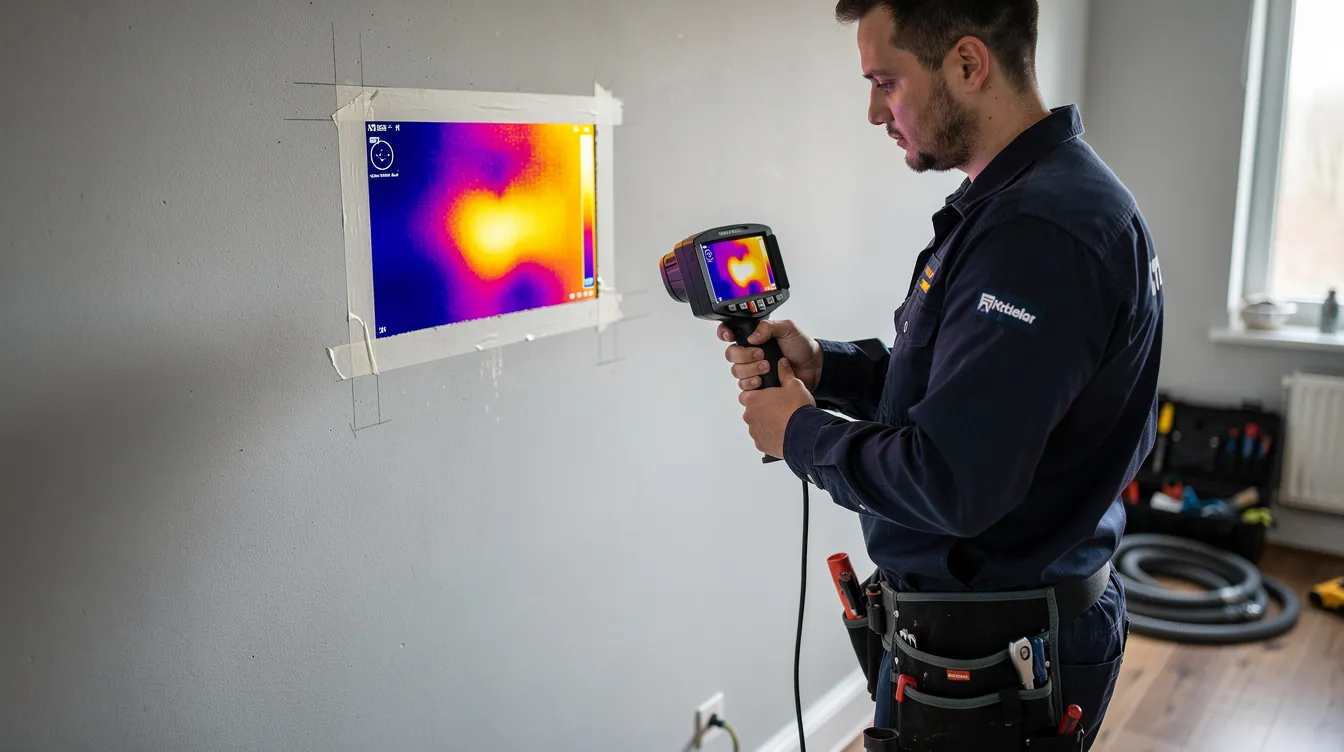
Professionals bring advanced leak detection tools to the job. Acoustic sensors can pinpoint leaks behind walls or under slabs with 90 to 96 percent accuracy. Thermal imaging cameras detect temperature anomalies caused by escaping water with 90 to 95 percent accuracy. These methods find hidden leaks without tearing your house apart-a server of precision that no DIY approach can match.
When a pro handles the repair, you get code-compliant work, warranties on parts and labor, and a comprehensive diagnosis that goes beyond the immediate problem. They don’t just patch current leaky pipes-they identify why the leak happened and what can prevent the next one.
For emergency leak repair and long-term maintenance, having a trusted local plumber you can call makes all the difference. When you’re ready, don’t settle for a quick search through http links and edgesuite-cached results pages-find someone with real experience and a reputation in your community.
Preventing Future Leaky Pipes
Prevention is always cheaper-and far less stressful-than an emergency repair and the water damage restoration that follows. A couple of simple habits can dramatically reduce your risk.
- Schedule regular plumbing inspections, especially if your home was built before 1990. Older homes may have galvanized steel, polybutylene, or early CPVC pipes that are approaching or past their expected lifespan. A professional inspection can find weak points before they become active leaks.
- Maintain safe water pressure in the range of 40 to 60 psi. High pressure puts constant stress on joints, fittings, and pipe walls. If your pressure runs consistently above 60 psi, install or check a pressure-reducing valve (PRV) at your main line.
- Insulate exposed pipes in unheated spaces like garages, crawlspaces, and attics before winter arrives. Frozen pipes are one of the most common causes of a broken pipe, and the damage from a burst can be catastrophic. Pipe insulation is inexpensive and easy to install-foam tube sleeves simply slide over the pipe.
- Address small drips and minor leaks promptly rather than ignoring them. A slow drip at a joint or a weeping connection under sinks may seem harmless, but it often signals a bigger problem developing. That drip is also wasting water-a crack just 1/8 inch wide can waste 250 gallons in a single day.
- Consider smart leak detection devices. IoT-connected sensors can monitor flow, pressure, and humidity in real time, and some systems include automatic shutoff valves that activate the moment abnormal flow is detected. They’re a worthwhile investment for any home, especially if you travel or have a vacation property.
Here’s the key takeaway from everything in this guide: act fast, use the right DIY fix for the situation, and don’t hesitate to rely on a professional plumber for anything that’s beyond a straightforward, visible repair. A plumbing leak that gets addressed in the first hour causes a fraction of the damage that one left overnight will create. Stay ready, keep a few basic repair supplies on hand, and know your limits. That combination will serve you well every time.
Share this post:


