


A dripping pipe at 2 AM is every homeowner’s nightmare. Whether you’re dealing with pinhole leaks in aging copper or a cracked PVC line in the basement, knowing how to handle pipe repair can mean the difference between a minor inconvenience and thousands of dollars in water damage. This guide walks you through everything from emergency leak containment to permanent fixes, helping you decide when to grab the wrench and when to call the pros.
Key Takeaways
- Most plumbing pipe repairs start with shutting off the water supply and safely relieving pressure before any work begins. This single step prevents further damage and creates safe working conditions for whatever fix you attempt.
- Common methods for repairing plumbing pipes include temporary fixes for pinhole leaks and permanent replacements of damaged sections. Temporary methods like epoxy putty, repair clamps, and tapes buy time, while cut-and-replace techniques or professional repipe projects restore full integrity.
- Step-by-step repairs for small leaks in copper, PVC, and PEX typically require basic hand tools and materials like push-fit couplings—but call a plumber when leaks recur, pipes run inside walls, or you’re unsure of the pipe material.
- Leaks on hot water pipes often signal corrosion or aging that may need more than a quick patch, since these lines endure higher temperatures and thermal expansion stress near the water heater.
- DIY pipe repair on exposed lines usually takes 15 minutes to 2 hours. Professional work ranges from a few hours for emergencies to several days for whole-home repiping, with costs from under $50 for a repair clamp to $5,000–$15,000 for full system replacement.
- When assessing pipe repairs, consider the pipe size and whether the damaged section is part of a long run or a short segment. Repairing a new section or capping off unused lines can help manage problem areas effectively.
- Before starting repairs, always run water through the system to identify leaks and ensure that air or steam buildup is not causing pressure issues that may complicate the repair process.
Understanding Plumbing Pipe Problems
Household plumbing pipes serve three distinct functions. Cold water supply pipes deliver pressurized municipal or well water at 40–80 psi to sinks, showers, and appliances. Hot water lines branch from the water heater, carrying heated water at 120–140°F under similar pressure but with added thermal expansion stresses. Drain-waste-vent pipes operate via gravity flow without pressure, handling wastewater to the sewer or septic system.
In a typical 3-bedroom home built around 1995, cold supply lines might total 200–300 feet of ½-inch or ¾-inch copper or PEX tubing. Hot lines add another 150 feet from a 50-gallon tank-style heater, while PVC drains comprise 100–150 feet of 1.5–4-inch pipes sloping at ¼-inch per foot.
Common pipe problems include:
| Problem | Typical Cause | Usually Repairable? |
|---|---|---|
| Pinhole leaks | Pitting corrosion in copper pipes | Yes, if isolated |
| Cracks | Over-tightened fittings, UV exposure | Yes, if accessible |
| Frozen-burst sections | Temperatures below 20°F | Yes, after thaw |
| Loose joints | Thermal cycling, age | Yes |
| Corrosion buildup | Galvanized steel aging | Often needs replacement |
| Mechanical damage | Nails or screws from renovations | Yes |
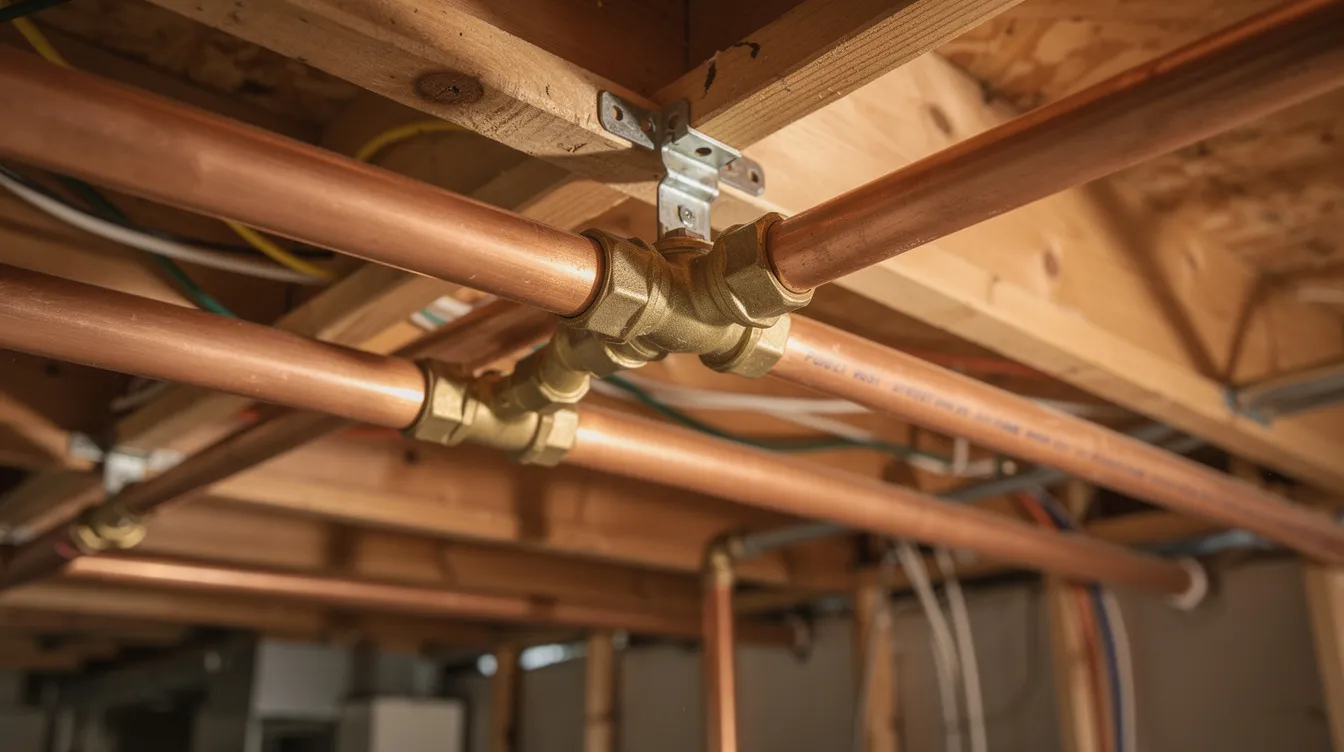
Repairing plumbing pipes involves methods ranging from quick temporary patches for minor leaks to full structural replacements for severely damaged systems. Leaking water supply pipes can be made of several different materials, including copper, CPVC, and PEX, and each material requires different repair methods.
Water supply pipes are pressurized, meaning even a 1/16-inch hole can spray 1–5 gallons per minute. Drain pipes rely on gravity flow, so leaks seep slowly and are often fixable with simple seals. Pressurized leaks demand immediate attention.
When You Should Repair Plumbing Pipes vs. Replace Them
Picture a 30-year-old home where the same copper line has sprung three leaks in 18 months. At what point does targeted pipe repair become a losing battle? The decision between spot repairs and repiping hinges on failure patterns, pipe age, and material type.
Simple pipe repair is appropriate when:
- A single isolated leak results from a one-time event (nail strike, freeze)
- Pipes were properly installed within the last 10 years
- Damage is in an accessible location like an unfinished basement or crawlspace
- No signs of widespread corrosion or discoloration
Replacement or repiping makes more sense when:
- Multiple leaks appear within 12–18 months on the same line
- Water runs brown, rust-colored, or has metallic taste
- Chronic low water pressure persists below 40 psi
- Visible green patina covers long sections of copper
- Your home has 1970s–1980s galvanized or polybutylene systems
Common signs that indicate a plumbing system may need repiping include frequent leaks, low water pressure, discolored water, and strange noises from the pipes. Repiping is the process of removing old or failing pipes and installing new ones throughout a property, typically necessary in older structures where plumbing systems have reached the end of their useful life.
Once you’ve had more than two repairs on the same water supply line within a year, a professional inspection is recommended. Video scoping or pressure testing can uncover 30–40% of hidden wall penetrations missed by visual checks.
Emergency Steps When a Pipe Starts Leaking
It’s Sunday night, and water is spraying from a copper pipe under your kitchen sink at roughly 2 gallons per minute. Common emergency plumbing issues include burst pipes, severe leaks, and blockages that can lead to water damage if not addressed quickly. Here’s your action checklist:
1. Stop the water supply
- Locate the fixture shutoff valve (quarter-turn ball valve with red handle) directly below the sink
- If no fixture valve exists, find the branch valve upstream or the main shutoff near your meter
- Turn clockwise until fully closed
2. Relieve pressure in the line
- Open nearby faucets fully—hot side first to safely bleed scalding water
- Flush toilets to drain remaining water from supply lines
- This reduces residual pressure from 10–20 psi to near zero
3. Contain the water
- Position 5-gallon buckets to catch continuing drips
- Use towels for absorption around the leak area
- A wet/dry vacuum (5–10 gallon capacity) speeds cleanup significantly
4. Protect electrical systems
- If water is within 3 feet of outlets or devices, shut off power at the breaker
- Wet wiring can arc at 120V, creating fire risk
5. Document for insurance
- Take timestamped photos and short videos of the leak and damage
- Insurance claims process 20% faster with visual evidence
Tools and Materials for Basic Pipe Repair
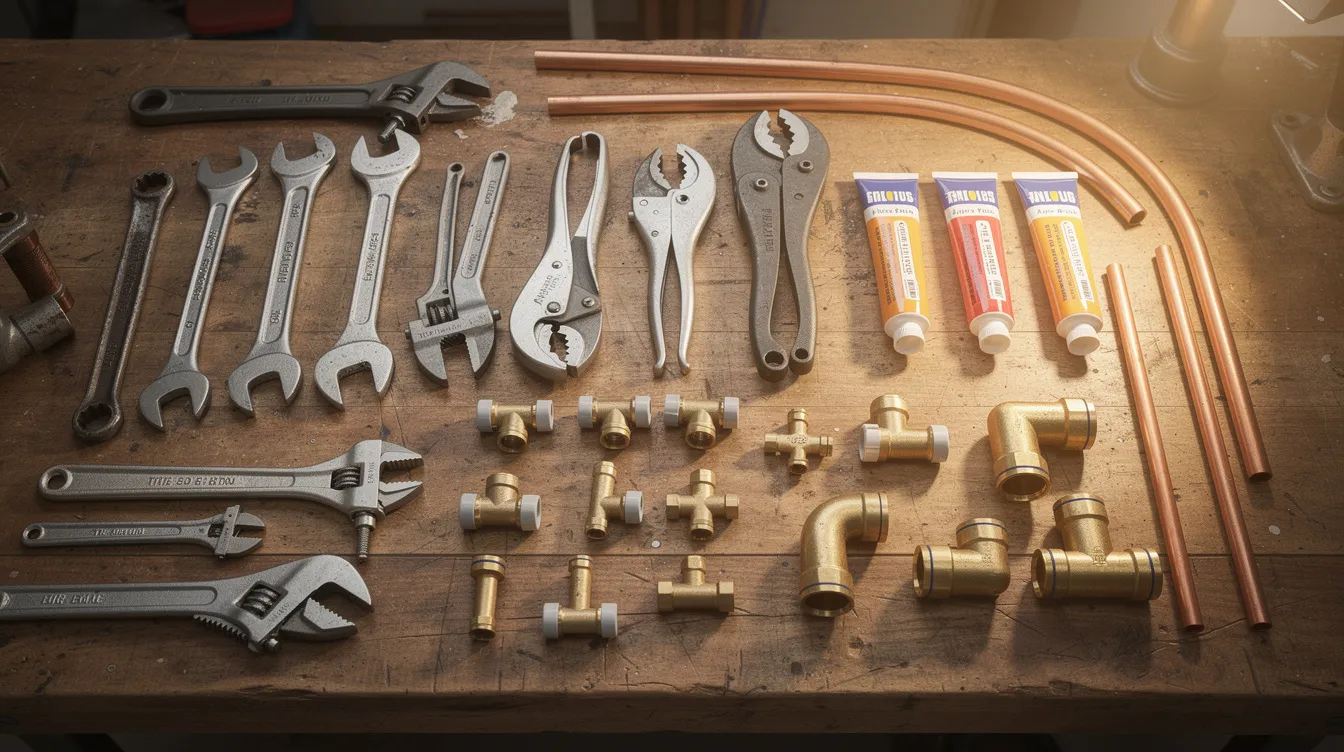
A small, well-chosen set of tools can handle most minor pipe repair tasks in a typical house built after 1990. Keep these items stored together as a “ready kit” to cut water damage time when sudden leaks appear.
Essential hand tools:
- 8-inch adjustable wrench (for ½–¾-inch nuts)
- 14-inch pipe wrench for backup grip
- Close-quarters tubing cutter for copper and PEX
- Ratcheting PVC cutter for burr-free 90° plastic cuts
- Deburring tool for chamfering cut edges
- Tape measure and bright flashlight
Key repair materials:
- Epoxy putty rated for potable water (NSF-approved, 500 psi hold)
- Pipe repair clamps sized for ½-inch and ¾-inch lines with rubber gaskets
- Push-to-connect couplings and ball valves (lead-free brass, 200 psi at 200°F)
- PVC/CPVC primer and solvent cement
- Teflon tape (apply 3–4 wraps clockwise)
Ball valves are important plumbing fittings that allow for the control of water flow and can be used with various types of pipe materials. Push fittings are a convenient option for connecting pipes, allowing for quick and easy installation without the need for special tools.
Tightening and resealing joints often require reapplying plumber’s tape or thread sealant compounds to fill gaps in threaded leaks.
Safety gear:
- ANSI Z87.1 safety glasses
- Level 5 cut-resistant gloves
- Foam knee pads for crawlspaces
Label fittings by material (copper, PEX, PVC) to avoid costly mix-ups during emergencies.
Temporary Pipe Repair Methods (Buying Time Until a Permanent Fix)
Temporary pipe repair is about quickly stopping or slowing leaks until a plumber can perform a permanent fix—not a long-term solution. Temporary methods for fixing leaks include epoxy putty, self-fusing silicone tape, and pipe repair clamps, ideal for immediate impacts until permanent repairs can be made.
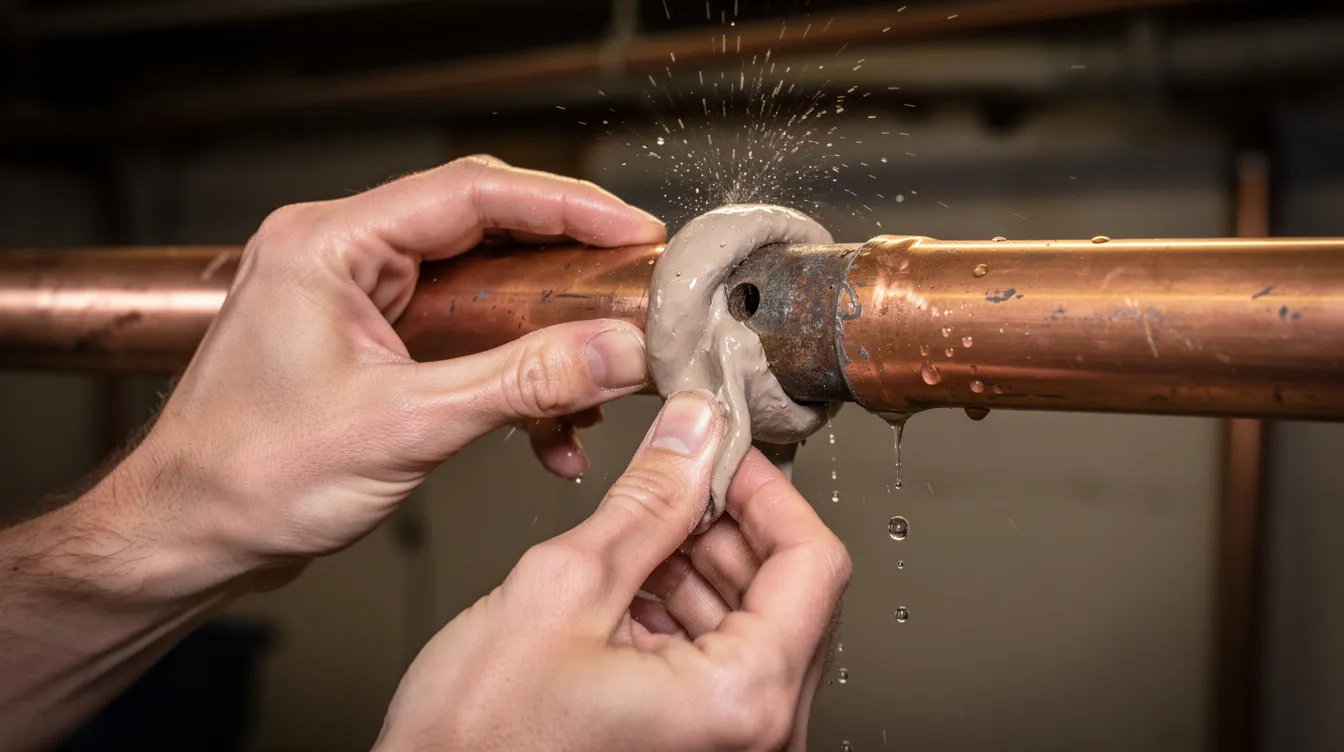
Epoxy Putty Application
Epoxy putty is a two-part compound mixed by hand that hardens over cracks or pinhole leaks and is effective for metal and rigid plastic pipes.
- Clean and dry the pipe surface thoroughly
- Sand the area to 80-grit roughness in a 1-inch radius
- Knead equal parts resin until uniform gray color (about 60 seconds)
- Press ¼-inch thick layer around the hole, feathering edges 2 inches out
- Allow 15–25 minutes to set, 1 hour for full hardness at 70°F
Pipe Repair Clamps
Pipe clamps are metal sleeves with a rubber gasket that are bolted around a leaking section of straight pipe, providing a high-pressure seal but are only temporary. For a rupture in the middle of a pipe, repair clamps can be used, or the damaged section can be cut out and replaced with a coupling.
- Measure a 4-inch span centered on the damage
- Position EPDM rubber gasket (durometer 70A) over the crack
- Tighten bolts to 10 ft-lbs using a cross-pattern
- Resume water supply and check for drips
Repair Tapes and Wraps
Pipe repair tape is self-fusing silicone tape that stretches and wraps tightly around a leak, creating a waterproof barrier for low-pressure lines. Wrap with 50% overlap under tension, maintaining consistent pressure throughout.
Fiberglass wraps are water-activated resin-saturated wraps that create a hard shell around damaged sections, offering more durability than standard tape.
Temporary fixes for leaking pipes include patch kits and tape-like products, but these should only be used until a permanent repair can be made. Check temporary fixes on hot water lines and main supply pipes every 12 hours—replace with permanent solutions within days, not months.
Permanent Pipe Repair: Cut and Replace Damaged Sections
The most dependable permanent fix for leaking pipes is sectional replacement, where the damaged section is cut out and replaced with a new piece using couplings. The best approach to pipe repair depends on the pipe material, the leak’s severity, and its accessibility.
General workflow for all pipe types:
- Shut off water and drain the line to less than 1 psi
- Mark cut points 1–2 inches beyond visible damage
- Cut pipe squarely using appropriate cutter
- Dry-fit replacement section with couplings
- Secure fittings and restore water
Copper Pipe Repair
- Use tubing cutter for clean, burr-free cuts
- Clean pipe ends with emery cloth; apply flux
- Soldering is the standard permanent method for copper pipes, involving heating with a torch and applying solder to seal joints
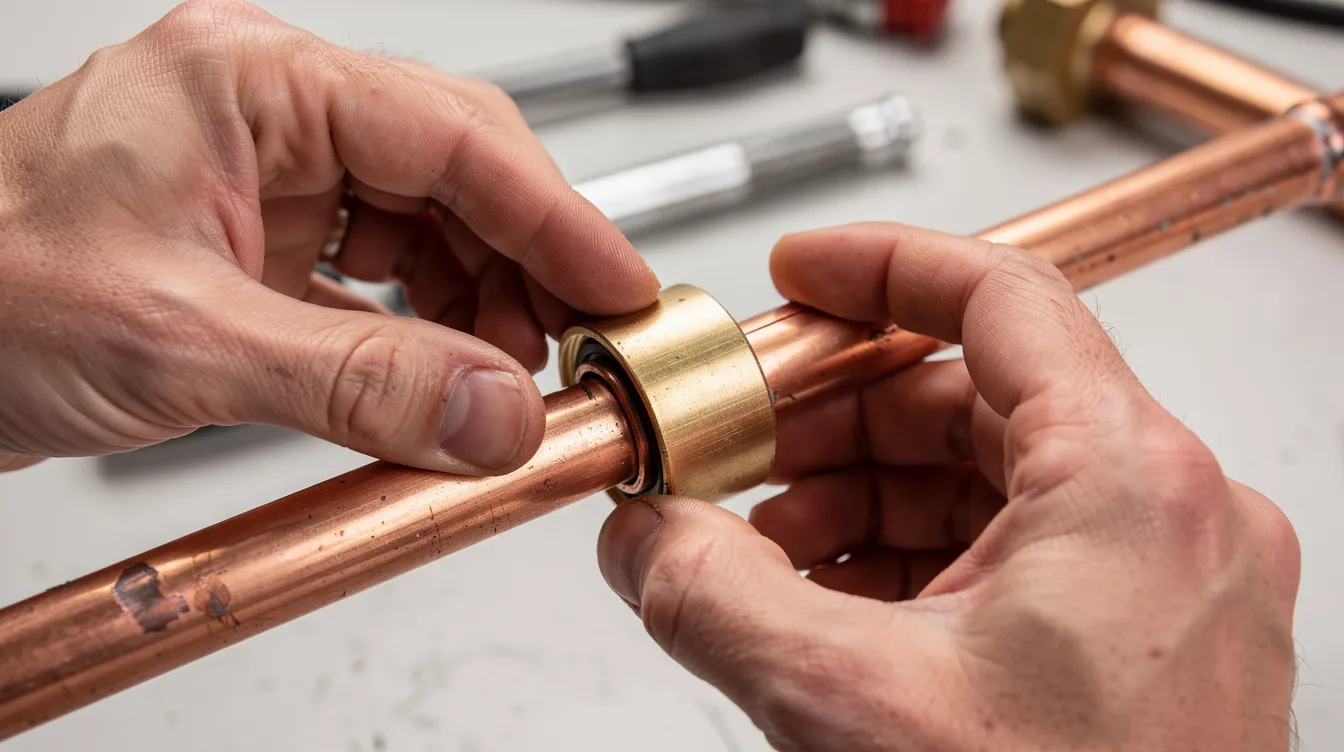
- For flame-free option, use push-to-connect couplings rated for 200 psi
PVC/CPVC Repair
- Make square cuts with ratcheting cutter
- Apply primer first, then solvent cement (10-second dry time)
- Solvent cement is a chemical bonding agent that fuses plastic pipe to fittings in PVC and CPVC plumbing
- Dry-fit and mark alignment before cementing
- Allow specified cure time before restoring pressure
PEX Repair
- Use appropriate PEX cutters for clean cuts
- Connect with crimp rings, cinch rings, or push-fit couplings
- Support flexible pipe adequately to avoid kinks
- Modern repiping projects typically use two main types of materials: PEX, which is flexible and cost-effective, and copper, known for its durability and long lifespan
For long-term reliability, damaged sections of pipes must be properly resealed or replaced. Repair clamps are a type of fitting used to fix ruptures in the middle of a pipe without needing to replace the entire section—though cutting out damage remains more reliable.
Special Considerations for Hot Water Line Repairs
Hot water pipes run from the water heater to fixtures throughout your home, enduring temperatures of 120–140°F and constant thermal expansion. This environment accelerates corrosion compared to cold water lines.
Leaks near the water heater on hot water outlets—for example, on a 40- or 50-gallon tank installed around 2010—can indicate failing nipples, corroded dielectric unions, or excessive pressure from a faulty expansion tank or temperature-pressure relief valve.
Before working on hot water pipes:
- Shut off the cold water supply to the heater
- Turn off power: gas valve to pilot position, or 240V breaker for electric heaters
- Allow lines to cool before handling
Continuous hot water leaks drive up utility bills quickly and create scald risks, warranting faster professional attention than small cold water drips in low-use areas. Some repairs—such as replacing corroded lines in the attic—may combine with an upgrade to PEX or insulated copper to reduce heat loss and condensation.
How Long Common Pipe Repairs Take
Pipe repair times depend on access, pipe material, and whether the fix is temporary or permanent.
Typical homeowner-level repairs:
| Repair Type | Time Estimate |
|---|---|
| Epoxy putty on pinhole | 15–30 minutes |
| Installing repair clamp | 30–60 minutes |
| Cut-and-replace exposed copper or PVC | 1–2 hours |
Jobs requiring a plumber:
| Repair Type | Time Estimate |
|---|---|
| Multiple crawlspace leaks | Half-day to full day |
| Slab leak reroutes | 1–2 days |
| Whole-home repiping | Several days |
The duration of a repiping project can vary, typically taking anywhere from a few days to a week, depending on the size and complexity of the property. Emergency plumbing repairs can often be completed within a few hours, depending on the severity of the issue and the type of pipe material involved.
Plan extra time if damaged pipe runs behind drywall, especially in finished basements or tiled bathrooms where wall access and patching adds hours to the project.
Preventing Future Pipe Problems
Many pipe problems can be prevented with routine maintenance and attention to pressure, temperature, and water quality.
Water pressure management:
- Keep household pressure in the 50–60 psi range using a pressure-reducing valve
- Check annually with a simple gauge attached to an outdoor spigot
- High pressure (above 80 psi) stresses joints and accelerates pipe blockage from mineral deposits
Freeze prevention:
- Insulate pipes in unheated areas: garages, crawlspaces, exterior walls
- During cold snaps like January 2024 across many U.S. regions, let faucets drip and open cabinet doors under sinks
Water heater maintenance:
- Flush sediment annually
- Check the anode rod every 2–3 years
- These steps reduce corrosion in hot water lines, especially in homes with hard water
Homeowners in older structures built before 1980 should schedule professional plumbing inspections every few years to catch hidden corrosion, off grade pipe materials, or collapsed pipe sections before catastrophic failure.
When to Call a Professional Plumber
While many small pipe repairs are DIY-friendly, certain situations demand a licensed plumber for safety and code compliance.
Scenarios requiring professional help:
- Leaks inside walls or ceilings where access requires opening drywall
- Recurring leaks on the same line despite proper repairs
- Slab leaks under concrete floors
- Sewer line breaks or persistent drain issues
- Any repair near the water meter or municipal connection
Gas line work, large-diameter main pipes, and complex hot water system changes (like recirculation loops) should never be DIY due to fire, explosion, and code risks.
For underground or inaccessible pipes, professionals may use pipe lining systems, which do not require digging and have a long lifespan. Cured-in-place pipe (CIPP) lining involves inserting a resin-coated liner into an existing pipe, inflating it, and curing it to form a new seamless pipe inside the old one. Pipe bursting replaces a damaged pipe with a new pipe, breaking the old one apart in the process.
Emergency plumbing services are available 24/7, allowing homeowners to get immediate assistance during plumbing crises, regardless of the time of day. Seek emergency help if water cannot be fully shut off, if a pipe has burst and is flooding your home, or if you’re unsure how to safely restore water supply after a repair.
FAQ: Plumbing Pipe Repair
Can epoxy putty permanently fix a leaking pipe?
Epoxy putty is best considered a long-lasting temporary fix. It can hold for months or even years on low-pressure drain lines, but it doesn’t replace the strength and reliability of an intact pipe wall. On main water supply lines or hot water pipes under constant pressure, use epoxy putty only to stabilize the leak until a cut-and-replace repair can be completed. For a permanent solution, sectional replacement remains the gold standard.
Is it safe to repair a pipe while the water supply is still on?
Proper pipe repair should always be done with the water supply turned off and the line depressurized—both for safety and to ensure adhesives or fittings can seal correctly. Products advertised as working on “active leaks” may slow water loss in an emergency, but they should never replace a full repair once the system can be shut down.
How do I know what type of plumbing pipe I have?
Visually inspect exposed pipes in the basement, utility room, or under sinks. Identifying the pipe material is crucial for matching repair materials to the specific pipe type and size, which commonly include copper, PVC, CPVC, or PEX. Shiny rigid copper tubes, white or cream PVC/CPVC plastic, and flexible colored PEX (red for hot, blue for cold) are common in homes built after the mid-1990s. Take clear photos and send them to a plumber or hardware expert if you’re unsure before buying fittings.
Will a small leak in a pipe get worse if I ignore it?
Even slow drips usually worsen over time due to ongoing corrosion or pressure fluctuations. They can create hidden mold, wood rot, and structural damage in walls and floors. Treat any visible leak as something to address within hours to days—not weeks—even if the water loss seems minor.
Do I have to replace all my pipes if one section fails?
A single localized failure in otherwise modern plumbing pipes can usually be fixed by repairing only the damaged section, especially in newer homes with existing pipes in good condition. However, multiple failures in older systems, discolored water, or widespread corrosion may justify discussing whole-home repiping with a plumber to avoid repeated emergency repairs down the line.
Share this post:


