


A leaking sewer line rarely announces itself with a dramatic flood. Instead, it shows up as a faint odour near the foundation, a patch of yard that never dries out, or backups that keep coming back no matter how many times you call a drain-clearing service. A sewer leakage test is the only reliable way to confirm whether your underground sewer pipes are watertight or quietly failing beneath your property.
This guide walks you through every major testing method, explains what the results actually mean, and covers the repair options available once a leak is confirmed.
Key Takeaways
- A sewer leakage test-whether it’s a hydrostatic pressure test, dye testing, smoke testing, or air test-is the fastest way to confirm or rule out sewer leaks when you notice recurring backups, foul odours, or damp spots around your property.
- A hydrostatic pressure test checks for leaks in sewer lines by filling the pipe with water while it’s sealed with a pipe plug. Any drop in water level during the hold period means the sanitary sewer is leaking and needs further isolation testing to find the exact point of failure.
- Combining leakage tests (pressure testing, dye testing, and CCTV inspection) gives a precise picture of where a sewer pipe is leaking, which cuts down on unnecessary digging and guesswork.
- Early testing protects your home’s structural integrity, indoor air quality, and yard from sewage contamination and long-term property damage.
- Always call a licensed sewer and drain contractor whenever you suspect a leaking sewer pipe rather than attempting high-pressure tests on your own.
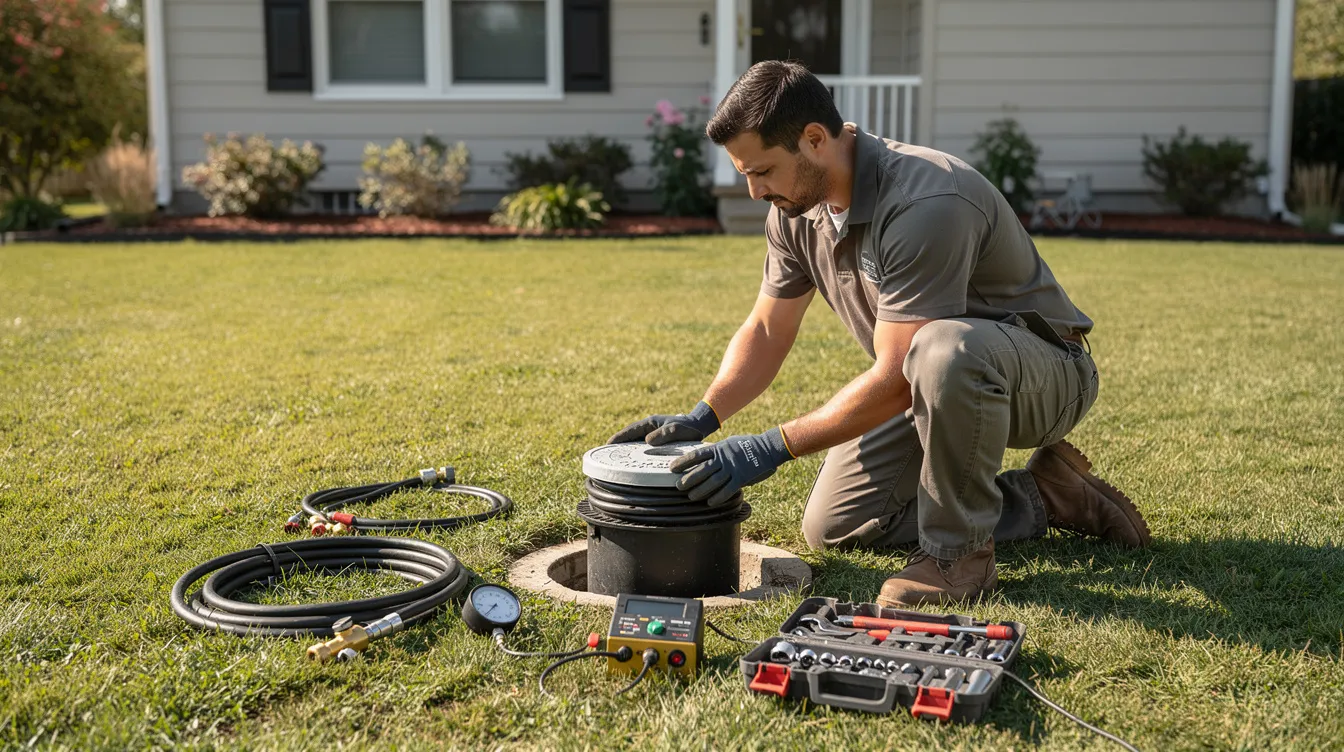
What Is a Sewer Leakage Test?
A sewer leakage test is any controlled method used to determine whether sewer pipes or sewer laterals are watertight. The most common approaches include hydrostatic pressure tests, air tests, dye testing, and smoke testing. Each method targets the sanitary sewer system-not the drinking water line-to detect failures that allow sewage out or groundwater in.
- These tests check for cracks, failed joints, root intrusion, displaced pipe sections, and cross-connections to storm drains.
- Leakage tests are commonly required during home sales, after foundation movement, or when symptoms of sewer leaks appear such as persistent odours, sinkholes, or backups.
- CCTV inspections help locate leaks and blockages in pipes and are often paired with pressure or dye tests for a complete diagnosis.
- Older homes often have clay or cast iron pipes that crack over time. Properties built between roughly 1950 and 1990 frequently used clay, cast iron, or Orangeburg (bituminous fiber) pipe material, all of which have now reached or exceeded their expected lifespans.
- Even if no major problems have appeared yet, testing is often recommended on aging systems as a preventive measure.
Why Sewer Leaks Matter for Your Home
A leaking sewer line is more than a plumbing nuisance. Undetected sewer leaks can cause structural damage and health hazards that compound over months or years. Small leaks can lead to costly structural repairs if not detected early, which is why confirming the condition of your building sewer before problems escalate is critical.
- Sewage escaping from underground sewer pipes can wash away supporting soil under foundations, driveways, and slabs. Cracked sewer pipes can cause foundation damage and settlement issues, leading to uneven floors, cracked walls, and misaligned doors.
- Sewer gases such as methane and hydrogen sulfide can enter basements or crawl spaces through small fractures in the pipe wall, causing foul odours, corrosion of metal plumbing fixtures, and health symptoms including headaches and nausea. Sewage leaks can lead to respiratory problems and GI illnesses in occupants exposed over time.
- Cracked sewer pipes can introduce bacteria and viruses into soil, contaminating your yard and potentially reaching shallow groundwater sources.
- Long-term moisture around wooden framing or drywall can support mould growth and attract pests, both of which are expensive to remediate.
- Unaddressed leaks in private sewer laterals can also allow groundwater to infiltrate the public sewer system, overloading wastewater treatment plants. A sewer leakage test prevents environmental contamination from sewage leaks and helps municipalities manage their systems more effectively.
- Confirming leaks early almost always results in smaller, less expensive repairs than waiting for a full pipe collapse or major sewage backup.
Common Signs You Need a Sewer Leakage Test
Physical access to a buried sewer line is limited, so homeowners must rely on surface symptoms to know when it’s time for a leakage test. Signs that indicate a need for a sewer leakage test include foul odors and wet spots, but the full list of warning signals is broader. Visual inspections can reveal signs of leakage like wet patches or odors even without specialised equipment.
Indoor signs:
- Recurring sewage backups in multiple fixtures (not just a single toilet or sink)
- Slow drains throughout the home despite clearing individual lines
- Persistent sewer odours near drains, in the basement, or in crawl spaces
- Gurgling noises from drains when a toilet flushes elsewhere in the house
- Unexplained mould growth on lower walls or near the ground-level slab
Outdoor signs:
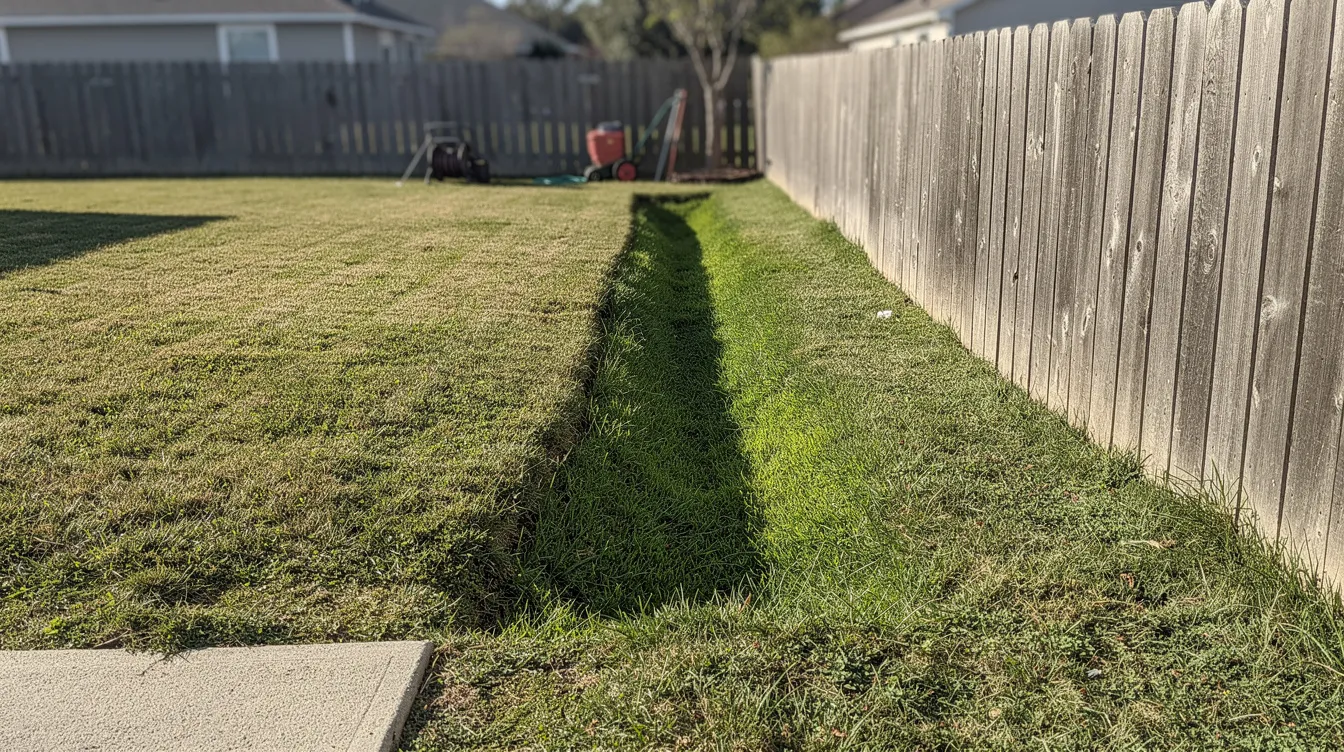
- Soggy or sunken areas in the yard along the suspected sewer line path
- Unusually green or fast-growing patches of grass fed by escaping sewage
- Sinkholes or depressions near the foundation or in the side yard
- Visible sewage or moisture on the ground or in landscape drains
Structural clues:
- New cracks in slab floors or garage foundations
- Tilting patios or walkways
- Separation between walls and floors near where the sewer line exits the building
If two or more of these signs appear together-especially foul odours plus yard saturation-schedule a sewer leakage test rather than repeatedly clearing “clogs.”
Overview of Sewer Leakage Test Methods
There is no single “best” test. Professionals choose between hydrostatic pressure tests, air pressure tests, dye testing, smoke testing, and CCTV camera inspections depending on the symptoms, pipe material, and local code requirements. Common methods for sewer leakage testing include hydrostatic tests and smoke tests, but each method has a distinct role.
- A hydrostatic pressure test fills the sewer line with water and monitors the water level for drops that reveal leaks.
- An air test uses low-pressure air instead of water, typically performed under standards such as EN1610 on new or rehabilitated sewer pipes. Pneumatic tests are fast and effective for detecting leaks in gravity-fed lines.
- Dye testing introduces coloured, non-toxic dye into plumbing fixtures or storm drains to trace where flow escapes the system and appears on the property or in nearby drainage.
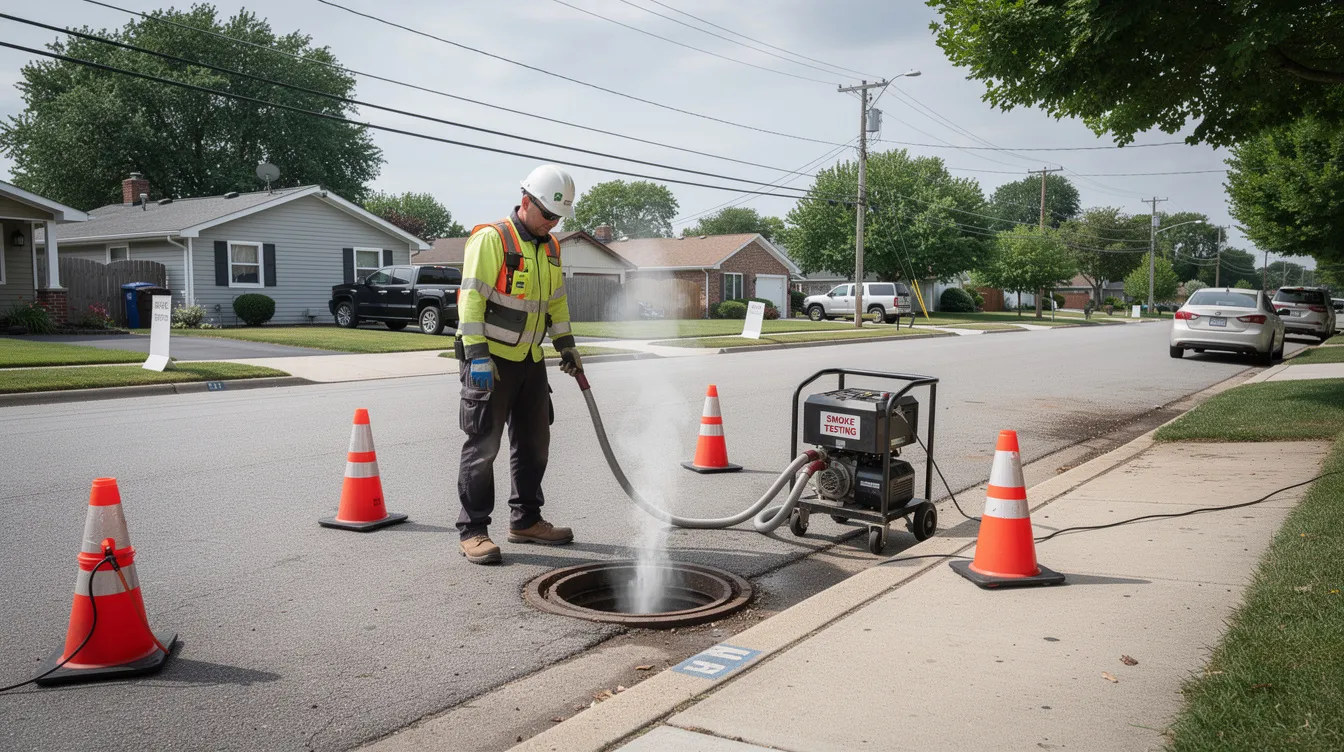
- Smoke testing forces artificial, non-toxic smoke into the sanitary sewer; leaks show up visually where smoke emerges from soil, walls, or rooflines.
- CCTV sewer camera inspection is not a leakage test by itself but a visual tool used alongside pressure or dye tests to find leaks and pinpoint the exact crack, joint failure, or root intrusion.
- Acoustic leak detection uses sound waves to find leaks, particularly hidden leaks in larger diameter pipes or pressurised force mains where other methods may be impractical.
Hydrostatic Pressure Test: Core Sewer Leakage Test
For many residential properties, the hydrostatic pressure test is the primary method used to confirm whether a buried sanitary sewer line is watertight. Hydrostatic pressure tests identify leaks in sewer lines by measuring whether the pipe can hold a static column of water without loss.
- The test involves temporarily plugging the downstream end of the sewer pipe with a pipe plug or test ball-often at a cleanout, yard access point, or downstream manhole-and then filling the isolated test section with water.
- A contractor watches the water level over a set period (typically 15–30 minutes). A stable level indicates no leaks, while a falling level suggests one or more leaking sewer pipes in that section.
- On some homes, plumbers may need to remove a toilet to insert the test ball into the building sewer and properly isolate the line from the municipal main.
- Many jurisdictions reference standards similar to EN1610 or local plumbing codes that limit test pressure to protect older pipes from damage.
- Hydrostatic tests are commonly used for new installations of sewer systems, and sewer leakage tests are frequently required for real estate transactions, remodel permits, or municipal compliance programs.
- Hydrostatic testing should always be carried out by trained professionals because pressurised water in a confined sewer line can be hazardous if plugs slip or equipment fails. This is not a run water and wait scenario-it requires calibrated equipment, a properly rated pressure gauge, and careful monitoring.
Step-by-Step: How a Sewer Hydrostatic Leakage Test Is Performed
The exact process can vary between cities, but the general sequence of a residential sewer hydrostatic test follows a similar pattern nationwide. Here is a typical walkthrough:
- The technician reviews the home’s plumbing system layout, locates cleanouts and the sewer lateral path, checks for existing damage, and notifies the property owner about any water shut-offs and fixture access requirements.
- A plumber typically inserts a rubber plug to isolate sections of sewer lines during testing. The plug or test ball is placed at the desired downstream point and inflated to the correct pressure, then mechanically braced before introducing water.
- The isolated sewer line is filled with water from a hose or the building’s water supply until a specified reference level is reached-for example, to the rim of a cleanout or a measured height in a standpipe. Water leak tests require a pressure of 0.5 bar as per EN1610 for gravity sewers.
- The tester times a hold period and watches the water level for any measurable drop, often recording data at intervals such as 5, 10, and 15 minutes using a calibrated gauge.
- If the line fails (water level drops), the contractor may proceed to static leak isolation testing, moving the plug to test shorter sections until the leaking segment is identified.
- After testing is completed, the sewer is carefully depressurised, plugs are removed, all plumbing fixtures are returned to service, and a written report is typically provided to the property owner or building inspector.
Other Leakage Tests: Air, Dye, and Smoke
Although hydrostatic tests are common, air testing, dye testing, and smoke testing each carry specific advantages in certain situations or regulatory environments.
- Air pressure tests fill the sewer line with low-pressure air and use a pressure gauge to monitor pressure loss over a timed interval. Air leak tests must not exceed 0.2 bar pressure according to EN1610, and the maximum test pressure for air leak tests is 0.2 bar-exceeding this risks damaging the pipe wall or creating safety hazards. Air tests work well where filling with water is impractical, such as in freezing weather or steeply graded lines.
- A sewer dye test uses non-toxic dye to identify leaks. Technicians introduce brightly coloured, water-soluble dye into toilets, roof drains, or yard inlets, then monitor the yard, foundation, storm drains, and basement for visible leakage of the tracer. Dye tests use non-toxic dye to trace sewer leaks and are especially useful when raw sewage is not visibly surfacing but unexplained moisture or contamination is suspected at a specific point on the property.
- Smoke testing uses non-toxic smoke to reveal leaks and breaks in sewer lines. A specialised machine forces low-temperature white smoke into the sanitary sewer, and anywhere smoke escapes from the ground, walls, roof gaps, or storm inlets indicates an opening in the system.
- Smoke and dye tests are often used by municipalities or HOAs to find illegal connections between sanitary and storm sewer systems, or to investigate inflow and infiltration into aging lines.
- These methods are usually combined with CCTV camera inspection afterward to visually confirm the condition of the discovered defect before planning repairs.
Static Leak Isolation Testing and CCTV Inspection
Once a hydrostatic test shows a leak somewhere along a sewer line, the next goal is to narrow down exactly which section of pipe is failing. This is where static leak isolation testing and CCTV inspection work together.
- Static leak isolation testing locates leaks in isolated sewer sections by repeating the pressure test on shorter and shorter segments. The plumber moves the pipe plug upstream in stages, dividing the sewer lateral into manageable pieces-for example, from the house to the yard cleanout, then from the yard cleanout to the property line.
- CCTV cameras inspect pipes for blockages and leaks by snaking a camera through the same sections as they are isolated. This allows the technician to correlate pressure loss with visible cracks, displaced joints, root intrusions, or collapsed areas in the sewer pipe.
- Static isolation plus camera inspection is far more precise than guessing based on surface symptoms alone. It often reduces excavation from the entire lateral down to just a few feet of targeted digging.
- For complex properties-older multifamily buildings, commercial sites, or homes with multiple additions-this combination is particularly valuable for mapping out the true condition of the plumbing system and determining the total leakage across each segment.
Safety, Standards, and Environmental Considerations
Sewer leakage tests involve confined spaces, pressurised water or air, and sometimes chemical dyes or smoke. Safety and regulatory compliance are critical at every stage. Maintaining a sealed plumbing system is vital for safety and integrity, and the testing process itself must be performed within strict guidelines.
- Pipe plug manufacturers and plumbing codes require plugs to be properly braced and used only within their rated pressure per square inch. Failure under load can launch a plug with enough force to cause serious injury.
- Reputable contractors follow national or regional standards such as EN1610 for leak testing. Air leak tests must not exceed 0.2 bar pressure according to EN1610, and water tests are limited to approximately 0.5 bar (about 50 kPa) to prevent damage to the pipe wall.
- Professional dye testing always uses non-toxic, biodegradable, water-soluble dyes that are safe for sanitary sewer treatment plants and do not stain fixtures or soil when used correctly.
- Smoke testing relies on non-toxic, low-temperature visible smoke. Contractors typically warn neighbours and fire departments in advance to prevent false alarms.
- Responsible operators document test pressures, durations, and materials used, which can be important for code compliance, warranty claims, and environmental reporting.
- Homeowners should avoid DIY pressure testing because of these safety and regulatory complexities. Work with licensed professionals experienced in sewer leakage tests.
Interpreting Sewer Leakage Test Results
Test results can be classified as “pass,” “fail,” or “inconclusive.” Clear interpretation is needed before committing to costly repairs.
- A pass means the sewer line held its test pressure or water level within allowable limits during the hold period, suggesting no active leaks in the test section. Small defects may still exist and can be monitored over time.
- A fail means measurable pressure loss or water-level drop occurred within the allowed test window, indicating one or more leaks, cracks, bad joints, or cross-connections in that section of sewer pipe.
- An inconclusive result can occur when testing conditions are disturbed-for example, someone flushes a toilet during the test, a plug shifts, or groundwater unexpectedly enters the pipe. The test must be repeated under controlled conditions.
- If hydrostatic testing fails but smoke or dye tests are negative, the contractor may suspect slow leaks in deep sections or infiltration only under certain groundwater conditions. Dye tests help confirm leaks by tracing dye flow in systems, so a targeted follow-up with dye can clarify ambiguous results.
- Always request a written report that includes diagrams or notes on which sewer line segments passed or failed, and what follow-up actions-camera inspection, isolation testing, or immediate repair-are recommended.
Repair Options After a Failed Sewer Leakage Test
Once testing confirms a leaking sewer pipe, the next step is choosing a repair strategy based on pipe material, depth, location, and budget. A small crack is cheaper to repair than a collapsed pipe, so acting on test results promptly saves money.
- Spot repairs: Localised excavation or trenchless point-repair sleeves that fix short cracks, offset joints, or small holes without replacing the entire sewer line.
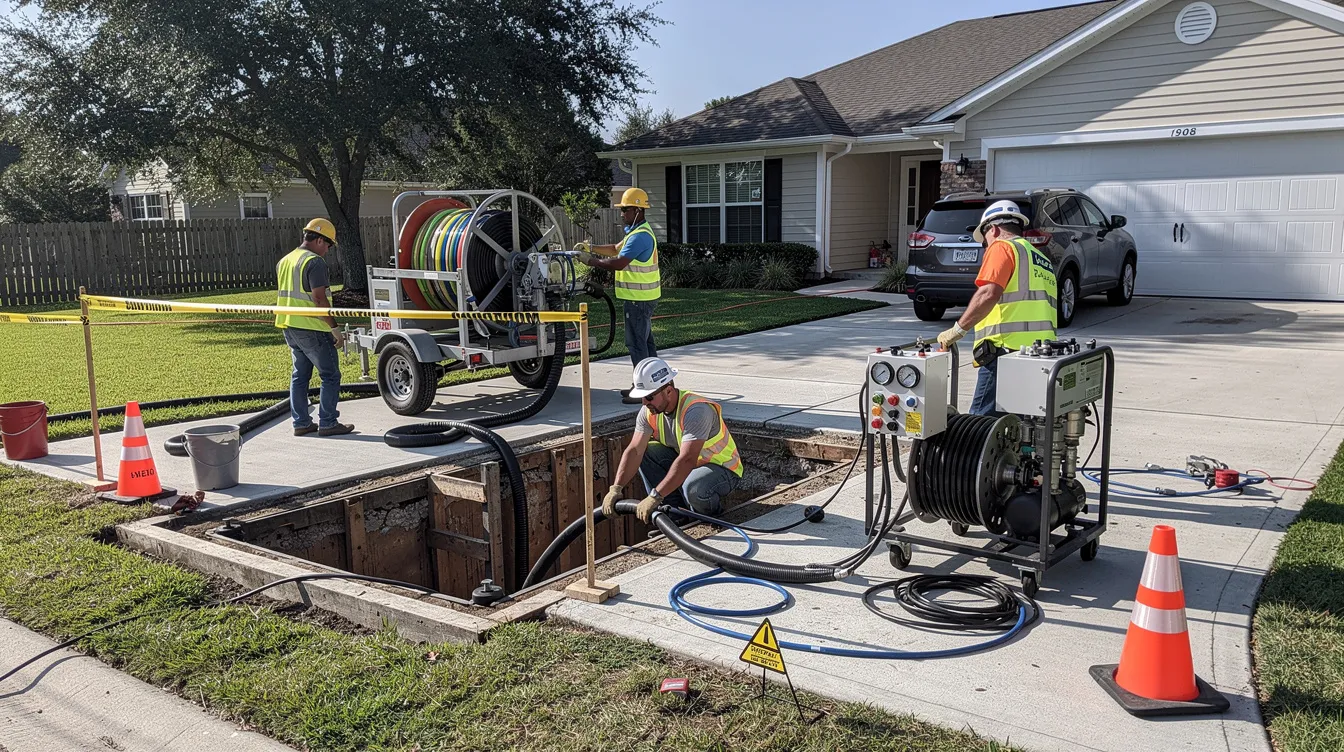
- Trenchless structural pipe lining (CIPP): An epoxy-saturated liner is installed inside the existing sewer pipe and cured to form a new, jointless pipe within the old one. This is one of the most popular trenchless sewer line repair methods for long stretches of damaged lateral where alignment is still reasonably straight.
- Pipe bursting: A bursting head shatters the old sewer pipe while pulling a new HDPE or PVC line into place, used when the existing pipe is heavily collapsed or undersized.
- Open-cut replacement: Sometimes still needed when the sewer line runs very shallow, has tight bends, or is entangled with other utilities or structural elements.
Key cost factors include:
| Factor | Impact on Cost | |
|---|---|---|
| Total length of sewer lateral | More linear feet = higher material and labour costs | |
| Depth and soil conditions | Deep lines or rocky soil increase excavation difficulty | |
| Surface restoration | Landscaping, concrete, or asphalt replacement adds to the bill | |
| Permit and inspection fees | Vary by municipality |
Share your leakage test and CCTV reports with multiple qualified contractors to compare repair proposals. Make sure each proposal addresses the confirmed leaking sections rather than recommending blanket replacement.
Preventing Future Sewer Leaks and Failures
Once a leaking sewer line has been repaired or replaced, simple preventive steps can greatly reduce the risk of future failures.
- Avoid planting aggressive, water-seeking trees such as willow, poplar, silver maple, or elm directly over or near sewer lines. Roots can penetrate small cracks in sewer lines, causing major breaks over time. Consider root barriers where plantings already exist.
- Schedule periodic sewer camera inspections-every 3–5 years for older properties, or after major construction or ground movement-to spot early cracks, root intrusion, or sagging before they cause a new leak.
- Arrange regular cleaning of sewer lines with professionally controlled water jetting where heavy grease, scale, or recurring minor blockages are present. Buildup accelerates wear and joint separation.
- Improve surface drainage by grading yards away from the foundation and maintaining gutters and downspouts. This limits soil movement and moisture saturation around buried sewer pipes.
- Respond quickly to new warning signs-foul odours, unexplained dampness, or new lawn indentations-instead of waiting for a severe backup. Consider re-testing specific sewer line sections if symptoms return.
When to Call a Professional Versus DIY Checks
While homeowners can perform some basic checks, official sewer leakage tests should be left to licensed professionals with the right equipment, training, and liability coverage.
Simple DIY observations you can make:
- Check for foul sewer odours near a drain, sink, or cleanout
- Watch for recurring backups in multiple plumbing fixtures
- Walk the yard for soggy spots, sinkholes, or areas of unusually lush growth
- Note new cracks in slabs, walls, or patios near the sewer line path
Why professional testing is necessary:
- Hydrostatic pressure tests, air tests, and smoke tests require specialised equipment and adherence to safety standards. Improper use of a pipe plug or over-pressurising a sewer pipe can be dangerous and could damage the plumbing system.
- Many cities and utility districts only accept leakage test results from approved testers for property sales, remodel permits, or compliance with sanitary sewer regulations.
- Call a professional immediately if raw sewage is visible in the home, if there is a strong sewer odour combined with signs of structural movement, or if previous drain clearing has not solved recurring problems.
Keep a written log of symptoms, dates, and photos of wet areas or yard changes to share with your plumber before testing begins. This helps the contractor determine the most efficient test section to start with and speeds up the diagnostic process.
FAQ
How long does a typical residential sewer leakage test take?
Most single-family residential sewer leakage tests-combining an initial hydrostatic pressure test with basic CCTV inspection-take between 2 and 4 hours on site, depending on access and the complexity of the plumbing system. Additional time may be needed if static leak isolation testing is required on multiple segments of the sewer lateral, or if the contractor must remove and reinstall toilets or difficult-to-reach cleanout caps. Larger or multi-building properties, or tests required by a municipality for compliance, can extend into a full workday.
Will a sewer leakage test damage my existing sewer pipe?
When performed correctly under code-approved pressures, hydrostatic and air leakage tests are designed not to damage properly installed sewer pipes. Professionals follow strict limits on maximum test pressure and use correctly sized pipe plugs, which are braced and monitored to prevent sudden movement or over-pressurisation. In some cases, a test may reveal that a severely deteriorated pipe cannot safely hold even modest test pressure-this usually indicates the pipe was already at the end of its life and needed replacement regardless.
Do all municipalities require sewer leakage tests when selling a home?
Requirements vary widely. Some cities and sewer districts mandate a sewer lateral inspection and leakage test before a property can be sold, while others have no such rule. Check with your local building department or sewer authority for current regulations, since policies around inflow and infiltration control are frequently updated. Even where not required, many buyers and sellers voluntarily request a sewer leakage test as part of due diligence to avoid unexpected repair costs after closing.
Can a water meter test confirm a sewer leak by itself?
Monitoring the water meter with all fixtures off can reveal hidden fresh-water leaks in your water line, but it cannot directly confirm a leak in the sanitary sewer line. The meter only measures incoming water, not wastewater leaving through sewer pipes. If the meter suggests no fresh-water leak but symptoms like foul odours, yard sinkholes, or sewage backups persist, a dedicated sewer leakage test is needed to evaluate the sewer line itself. A water meter check is a helpful preliminary DIY step, but it is not a substitute for hydrostatic, dye, or smoke testing on sewer lines.
Is dye testing safe for my plumbing system and my yard?
Dye tests use non-toxic dye to trace leaks in sewer systems, and the products used by licensed contractors are specifically formulated to be biodegradable and water-soluble. They will not harm plumbing fixtures, sewer pipes, soil, or plants when used in the small quantities required for testing. The colours are usually bright-fluorescent green, red, or blue-for visibility but are designed to disperse and fade quickly in normal sewer and groundwater conditions. Avoid using unknown industrial dyes or excessive amounts of household food colouring for DIY tests, and instead rely on a licensed contractor with proven tracer products.
Share this post:


