


A sump pump sitting quietly in your basement is easy to forget about – until it stops working. When that happens, water can climb fast, and the damage adds up even faster. Whether you’re dealing with a pump that won’t kick on, one that runs nonstop, or you’re just trying to stay ahead of the next storm, this guide walks you through everything you need to know about sump pump repair, from quick fixes you can handle yourself to knowing when it’s time to call in a pro.
Key Takeaways
- A single sump pump failure during heavy rain can flood a basement and cause tens of thousands of dollars in water damage – ignoring sump pump issues can lead to over $25,000 in damage.
- The most common sump pump problems include a stuck float switch, clogged discharge lines, failed check valves, and power supply issues.
- Homeowners can safely try a few quick fixes – checking power, clearing debris from the sump pit, and testing the float switch – before calling for professional help.
- Emergency sump pump repair services from local plumbers are critical when the pump fails during storms or rising groundwater, because every minute counts.
- Regular sump pump maintenance and a reliable backup system are the cheapest insurance against a flooded basement.
Understanding How Your Sump Pump Protects Your Home
Before we get into what goes wrong and how to fix it, it helps to understand what your sump pump actually does and why each part matters. Knowing the basics makes troubleshooting a lot less intimidating.
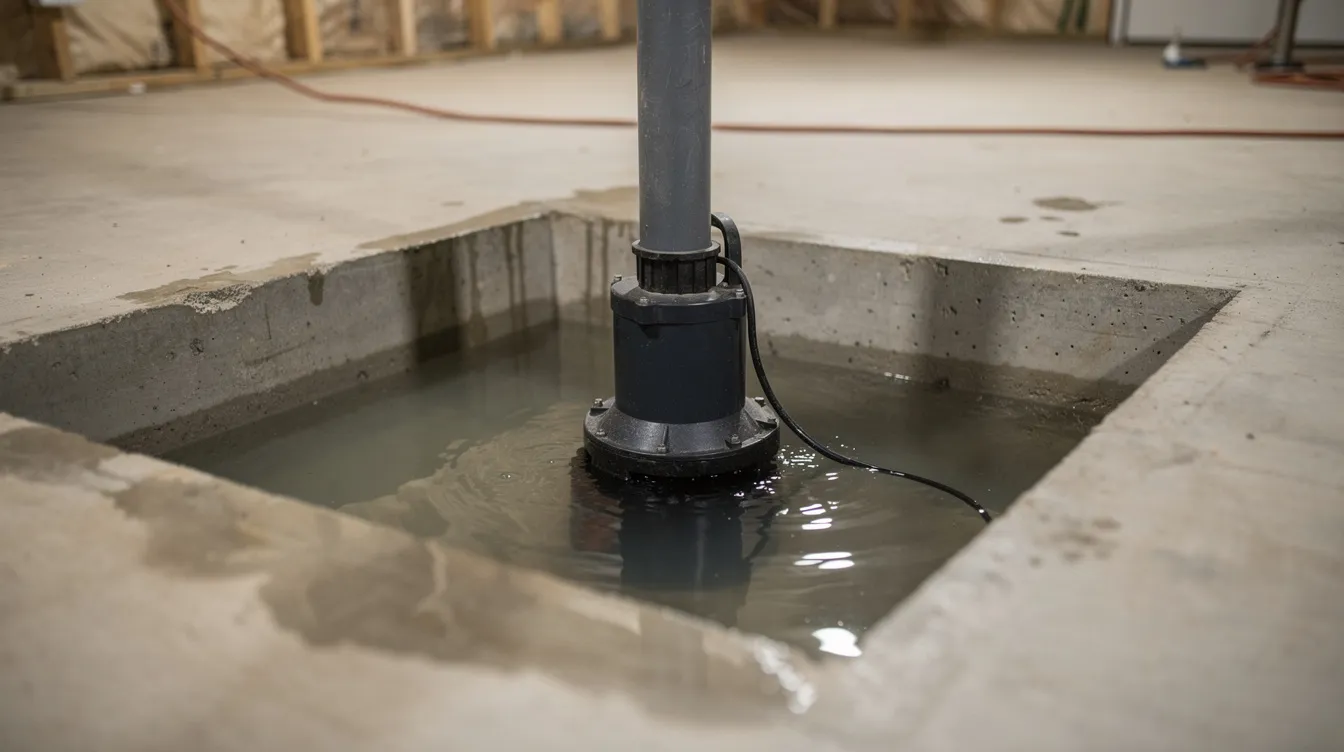
A sump pump sits inside a sump pit (also called a sump basin) at the lowest point of your basement or crawl space. When groundwater or rainwater seeps in, it collects in the pit. As the water level rises, the float switch lifts and signals the motor to turn on. The motor spins an impeller – a small rotating disc – that pushes water up through a discharge pipe and out through a discharge line to a point safely away from your home’s foundation.
A check valve sits in that discharge pipe to prevent pumped water from draining back down into the pit once the pump shuts off. The discharge line outlet outdoors should always point downhill, directing water away from the house.
Sump pumps operate in harsh environments that can lead to various problems over time – sitting in water, dealing with dirt, gravel, and sediment constantly. In cities with older housing stock built before 1980, where water tables run high and stormwater infrastructure is limited, a sump pump is often the only real barrier preventing basement flooding. Both submersible pumps (which sit inside the pit) and pedestal-style models serve this purpose, though submersible pumps are more common in modern installations.
Common Sump Pump Problems That Lead to Repair
Most sump pump failures trace back to a handful of recurring issues. The good news is that once you know what to look for, you can catch many of these problems before they turn into an emergency.
Common sump pump issues include power failures and mechanical failures. Here are the most frequent culprits:
- Pump won’t turn on – Often caused by a tripped breaker, a blown GFCI outlet, or a disconnected plug. Power outages are a common cause of sump pump failure.
- Pump runs but doesn’t move water – Usually means the impeller is clogged or the discharge pipe is blocked. Clogged intake grates or impellers are common sump pump problems.
- Pump runs continuously – Sump pumps can run continuously if the float switch is stuck in the “on” position, or if a failed check valve keeps sending water back into the pit.
- Short cycling – The pump kicks on and off rapidly, often due to a check valve allowing backflow or a float switch that’s too sensitive.
- Unusual noises or burning smell – Strange noises from the pump, like grinding or rattling, can mean a jammed impeller, worn bearings, or debris caught in the mechanism. A burning smell usually signals an overheating motor.
A stuck float switch can prevent the pump from activating entirely. Clogged discharge pipes can obstruct water flow from the pump. Sump pumps can fail if the motor is burned out or the impeller is damaged. Common causes of sump pump failure include power issues and mechanical blockages.
Here’s the part many homeowners don’t realize: basement flooding after heavy rainfall is often the first visible sign that something has been quietly going wrong for weeks or months. A float switch slowly losing range, a discharge line gradually filling with sediment – these minor issues can quickly lead to structural damage, mold growth (which can start within 24 to 48 hours of persistent moisture), and ruined furnishings.
Emergency Sump Pump Repair: What to Do Right Now
If you’re reading this while watching water rise in your basement, take a breath. You’re not the first person to deal with this, and there are steps you can take right now to protect your family and your home.
Safety first. Do not walk through standing water if it’s near electrical outlets, appliances, or your breaker panel. If your sump pump stops working and you have standing water near any power source, shut off electricity to the basement at the main panel before doing anything else. Unplug any devices sitting in water.
Once you’ve addressed safety, quickly check these things:
- Verify power – Is the pump plugged in? Has the breaker tripped? Is the GFCI outlet working?
- Look inside the sump pit – Can you see the float switch? Is it stuck, tangled, or blocked by debris?
- Check the discharge pipe – Is the outdoor outlet blocked, frozen, or submerged in pooled water?
Call for emergency sump pump repair if:
- Water is actively rising and heavy rain is expected to continue
- The pump is completely dead and won’t respond to any troubleshooting
- You smell burning or see any electrical damage
When you call, have this information ready for the plumber: pump brand and model, approximate age of the unit, when the problem started, and whether you have a battery backup or other backup systems installed. This helps the technician arrive prepared and saves time when every minute matters.
Step-by-Step Quick Fixes You Can Try Before Calling a Plumber
Before you pick up the phone, there are a few low-risk troubleshooting steps most homeowners can handle with basic tools. These won’t fix everything, but they cover the majority of simple causes.
1. Check the power source. Verify the circuit breaker hasn’t tripped. If your pump is on a GFCI outlet, press the reset button. Make sure the plug is fully seated in the outlet. Try plugging a lamp or phone charger into the same outlet to confirm it’s live. Lost power is one of the simplest – and most common – reasons a sump pump stops working.
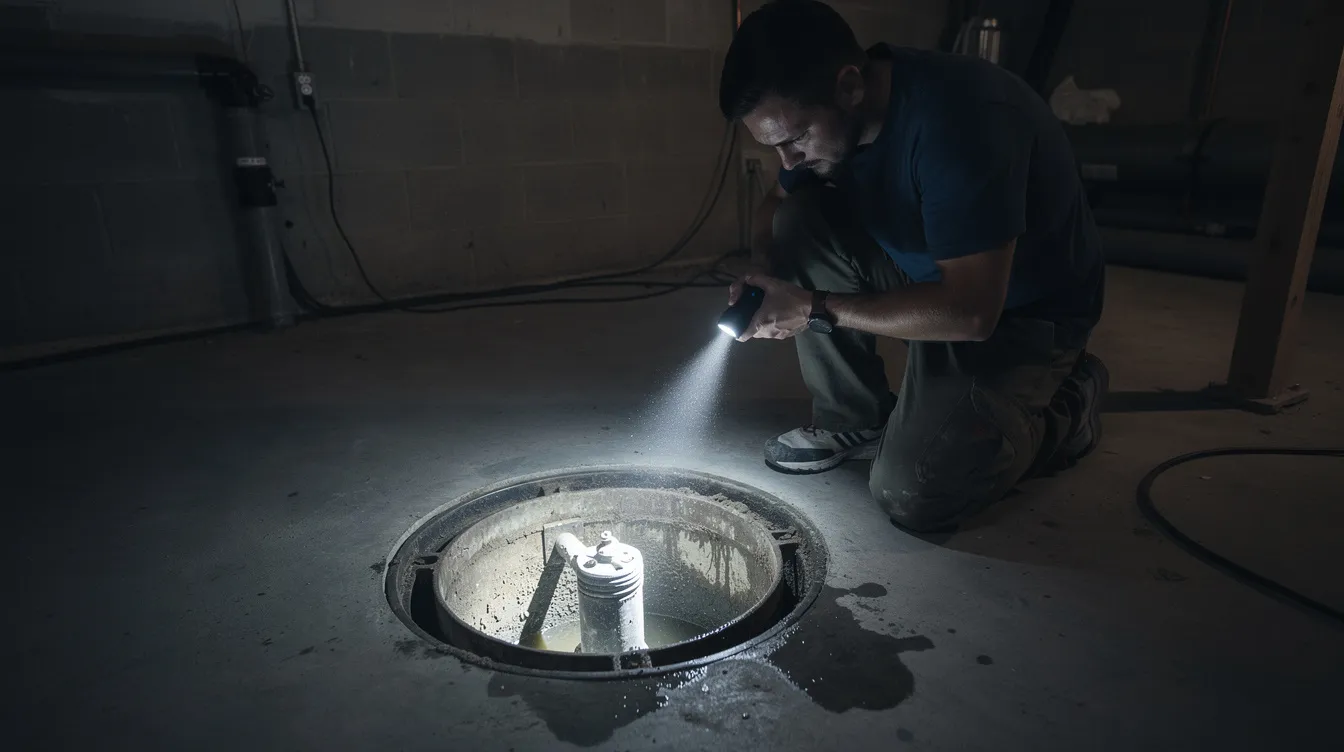
2. Inspect and free a stuck float switch. Unplugging the sump pump before inspection reduces the risk of electric shock. With the pump unplugged, reach into the pit and check whether the float moves freely. Remove any debris, dirt, or tangled cords that might be holding it in place. A stuck float is one of the easiest fixes in pump repair.
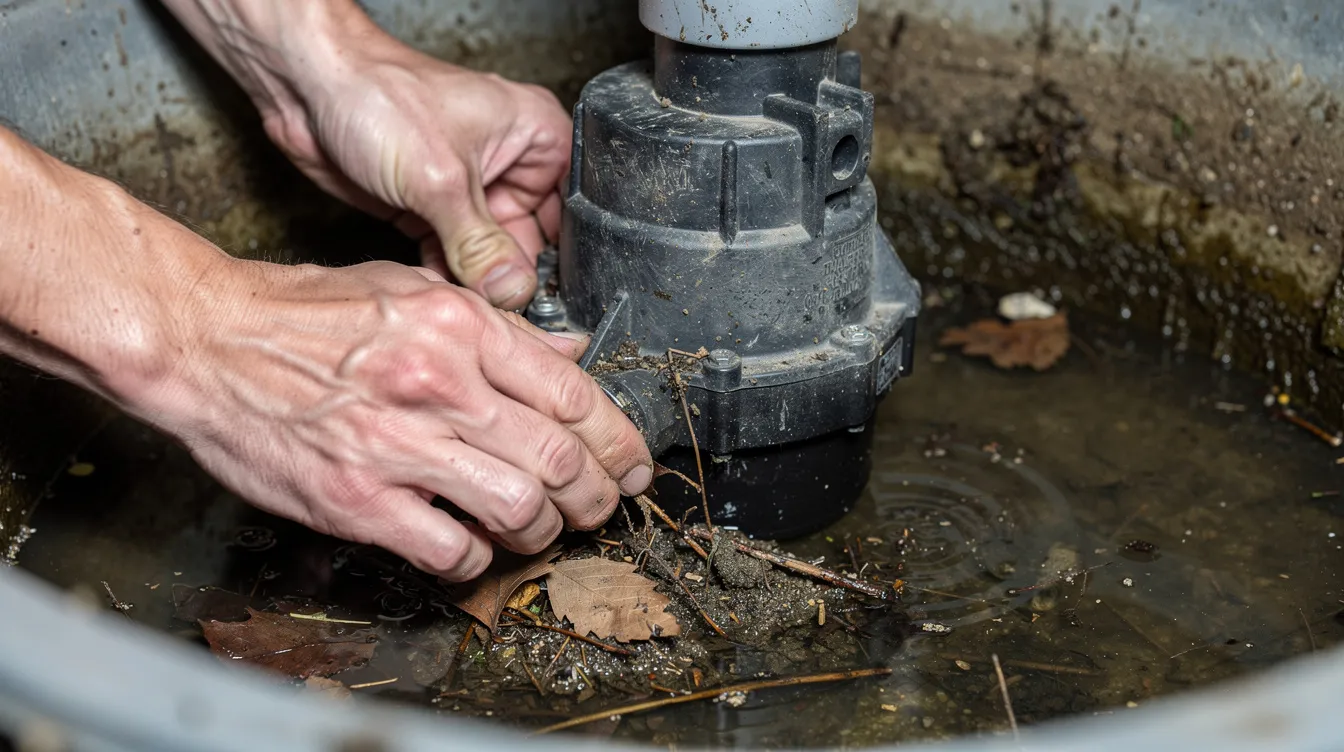
3. Clear minor clogs. Clean the sump pit to remove dirt and debris – leaves, mud, gravel, and sediment can accumulate and block the inlet screen or jam the impeller. Wipe down the intake screen and look into the visible section of the discharge pipe for blockages.
4. Test the pump. Check the float switch by pouring water into the pit – slowly add several gallons and watch whether the pump activates and the water level drops. If it does, the system is working. If nothing happens, the issue is deeper.
5. Know when to stop. If you smell burning, see sparks, or hear grinding or unusual sounds that suggest serious mechanical damage, stop immediately and call local plumbers. These are signs of problems that go beyond quick fixes.
Float Switch, Check Valve, and Discharge Line Problems
These three components are small and relatively inexpensive, but when any one of them fails, the entire system breaks down. Understanding how they work helps you spot trouble early.
Float switch issues are among the most common sump pump problems. The float can get stuck in the “up” position (causing the pump to run continuously) or stuck “down” (preventing it from turning on at all). Floats can rub against the pit wall, get tangled with power cords, or become waterlogged over time. Replace worn-out float switches to fix pump issues – they’re one of the most frequent repair items.
Check valve failures are a known issue for sump pumps. The valve’s job is to prevent water from flowing back into the pit after the pump shuts off. When a check valve is stuck open, stuck closed, installed backward, or has leaking fittings, the pump may short-cycle or fail to move water effectively. A bad valve forces the motor to work harder, shortening its life.
Discharge line problems can range from annoying to catastrophic:
- Pipe frozen outside in winter
- Crushed or kinked underground sections
- Clogged with sediment or debris
- Outlet draining too close to the foundation, sending water right back in
Inspecting the discharge line is critical to ensure proper water flow. Clogged discharge pipes can prevent proper water flow entirely.
Homeowners can generally free a stuck float, visually check the discharge line outlet, and clear surface-level obstructions. But if the check valve needs replacement, the discharge line is buried or frozen underground, or the valve was installed incorrectly, that’s a job for a professional.
When to Stop DIY and Call a Professional Plumber
DIY troubleshooting can save money and solve simple problems – but it has real limits, especially when water and electricity are involved. Knowing when to step back keeps you safe and protects your home from further damage.
Call a professional if:
- The breaker keeps tripping after you reset it
- You notice a persistent burning smell from the motor
- Your basement is actively flooding and basic troubleshooting hasn’t helped
- The pump is more than 10 years old and showing multiple symptoms
- You see visible cracks in the pit, leaks near fittings, or water leaks near the discharge pipe
- The pump doesn’t turn on during rain after you’ve checked power and the float
- The pump runs continuously despite clearing the float – call a plumber for inspection
- You hear strange noises like grinding or screeching – these indicate a need for professional help
Professional help is needed if basic troubleshooting fails. Internal motor problems, wiring faults, and control board issues are not safe for homeowners to diagnose or repair without training.
Licensed plumbers can test amperage draw, measure head pressure, and evaluate discharge line performance to determine whether repair or replacement is the smarter move. A professional inspection often covers the entire drainage system – not just the pump itself – which helps prevent recurrent failures.
What Professional Sump Pump Repair Typically Includes
If you’ve never called for expert sump pump repair before, here’s what a typical service visit looks like so you know what to expect and can feel confident about what you’re paying for.
Initial inspection: The technician will visually check the sump pit condition, discharge line routing, float switch movement, check valve orientation, and all fittings. They’re looking for rust, corrosion, cracks, loose connections, and signs of wear.
Diagnostic testing: The plumber will verify voltage at the outlet, trigger the pump to test start-up response, measure pump performance by timing how quickly it moves water, and check for leaks along the entire discharge line.
Common repairs include:
- Replacing a failed or worn float switch
- Installing a new check valve
- Repairing or rerouting a damaged discharge pipe
- Cleaning or replacing a clogged impeller or inlet screen
- Clearing blockages from the discharge line
In some cases, the plumber will recommend full replacement instead of repair – particularly if the unit is outdated, undersized for your home’s water volume, or has failed repeatedly. Expert sump pump repair means knowing when a fix will hold and when it’s time for a new pump. This applies especially during sump pump installation of a replacement unit, where proper sizing and pit configuration matter.
Preventative Maintenance to Avoid Future Sump Pump Failures
Cleaning up after a flooded basement can cost thousands. Preventative maintenance costs almost nothing by comparison. Annual maintenance can prevent costly repairs and water damage, and regular maintenance can prevent most sump pump problems before they start.
Here’s a practical schedule:
| Frequency | Task |
|---|---|
| Monthly | Quick visual check – make sure the float moves freely, the pit is clear of debris, and the pump is plugged in |
| Twice a year (spring and fall) | Test the pump by pouring water into the pit; check the discharge line for blockages at least twice a year; inspect the outdoor outlet |
| Annually | Schedule sump pump service once a year with a licensed plumber for a thorough professional inspection |
Homeowner tasks that matter most:
- Clean the sump pit to remove dirt and debris regularly
- Test the float switch by pouring water into the pit
- Inspect the discharge pipe outlet and confirm water flows away from the foundation
- In cold climates, check for ice buildup in the outdoor discharge line before winter storms
Mark specific dates on your calendar – early March before spring storms and late September before fall rains are good benchmarks. Testing the pump twice a year ensures it activates and discharges water properly. Sump pumps should be tested before heavy rain or snowmelt to prevent failures.
Regular cleaning of the pump and its components is part of preventive maintenance that extends pump life, reduces emergency sump pump repair calls, and can keep warranty coverage valid. Regular sump pump maintenance is the simplest way to keep things running smoothly year after year.
Backup Systems and Power Outage Protection
Here’s the frustrating truth: most sump pump failures happen during the exact moment you need the pump most – during storms, when power outages knock out your primary system and water levels are climbing fast. That’s why backup systems aren’t optional for many homeowners; they’re essential.
Battery backup sump pumps use a secondary pump connected to a rechargeable deep-cycle battery. The backup float switch is typically set slightly higher than the primary, so it only activates when the main pump fails or loses power. Most battery backup units move 800 to 2,000 gallons per hour and can run for 4 to 8 hours on a full charge, depending on battery type. Newer models using lithium iron phosphate (LiFePO₄) batteries last longer, charge faster, and are safer than traditional lead-acid batteries.
Water-powered backup pumps use municipal water pressure to create a vacuum that draws sump water out. They run indefinitely as long as water pressure holds – no battery to die. The trade-off is lower pumping capacity (roughly 800 to 1,500 gallons per hour) and they use about 2 gallons of city water for every 1 gallon of sump water removed. They also won’t work on well water.
A backup pump shares the sump pit with the primary unit and has its own float switch. Ask your local plumbers to properly size and install backup systems, including separate discharge lines when needed to avoid bottlenecks during heavy rain events.
Choosing a Reliable Local Plumber for Sump Pump Repair
The right contractor can mean the difference between a lasting fix and repeat flooding problems. Not every plumber handles sump pump services regularly, so it pays to ask the right questions.
What to look for:
- Licensed plumbers with specific experience in sump pump repair – not just general plumbing
- Proper insurance coverage
- Positive reviews from neighbors and community members who’ve had similar work done
- Fast emergency response times, especially during storm season
Questions worth asking:
- How quickly can you respond during heavy storms or after-hours emergencies?
- Do you offer warranties on parts and labor?
- What pump brands do you service and install?
- Do you offer preventative maintenance plans or sump pump inspection programs?
Keep your plumber’s contact information somewhere accessible – on your phone, on the fridge, wherever you’ll find it fast during a late-night storm. During rainy seasons, response times from sump pump services can stretch, so having a relationship with a trusted contractor before you need one is worth its weight in gold.
Costs, Lifespan, and When Replacement Makes More Sense
Most homeowners want a rough idea of what pump repair and replacement will cost before they make the call. Here’s a straightforward breakdown.
Typical repair costs:
| Repair Type | Estimated Cost |
|---|---|
| Float switch replacement | $75–$200 |
| Check valve swap | $100–$200 |
| Discharge line repair | $100–$225 |
| General sump pump repair | $150–$500 |
Full replacement costs:
| Scenario | Estimated Cost |
|---|---|
| New pump in existing pit | $500–$1,500 |
| New pump + new sump pit | $800–$2,500 |
The average lifespan of a sump pump can vary based on quality and usage, but most sump pumps last 7 to 10 years with proper maintenance. Sump pumps typically last 7 to 10 years. Poorly maintained units in high-demand environments often fail sooner.
Replacement usually makes more sense when:
- The pump keeps failing with the same issue despite major repairs
- Visible rust, corrosion, or physical damage is present
- The pump can’t keep up with water volume during storms
- The motor has failed on a unit older than 7 years
- The design is outdated – no reliable float switch, no backup compatibility
Here’s the math that matters: sump pump repair costs range from $150 to $500, and full sump pump replacements can cost between $500 and $1,500. Compare that to the potential cost of even one serious basement flooding event. Ignoring sump pump issues can lead to over $25,000 in damage – foundation repairs, mold remediation, ruined belongings, and lost time. Investing in a correctly sized, professionally installed pump plus a backup system often pays for itself by preventing even one significant flood damage event.
Frequently Asked Questions About Sump Pump Repair
These questions cover practical details that come up often but weren’t fully addressed above.
How often should I test my sump pump, and what should a normal test look like?
Test your pump at least twice a year – once in early spring and once in early fall. Pour several gallons of water slowly into the sump pit. You should hear the motor hum to life smoothly, see the water level drop steadily, and hear the pump shut off once the pit is drained. A healthy pump sounds like a steady, low hum. Rattling, grinding, or unusual sounds during testing signal potential issues worth investigating.
Does homeowners insurance cover damage from sump pump failure?
Standard homeowners insurance policies typically do not cover flood damage or water damage caused by sump pump failure. Some insurers offer optional riders or endorsements specifically for sump pump backup or overflow damage, usually for an additional annual premium. Check your policy and talk to your insurance agent – it’s worth knowing before you need it.
What should I do if the discharge pipe freezes in winter?
If the outdoor section of the discharge line freezes, water has nowhere to go and will back up into the pit and potentially your basement. In the short term, you can try thawing the pipe with warm (not boiling) water poured over the frozen section. Long-term solutions include burying the pipe below the frost line, installing heat tape, or adding a freeze guard fitting that allows water to exit at ground level if the main line is blocked.
Can I route laundry or greywater into my sump pump?
This is generally not recommended. Sump pumps are designed for clear groundwater, not soap, lint, or greywater. Routing laundry discharge into the sump pit can clog the impeller and inlet screen rapidly, void your pump warranty, and may violate local plumbing codes. If you need to drain a laundry area, consult licensed plumbers about a separate drain solution.
What noises are normal, and which ones mean I need pump repair?
A low, steady hum when the pump is running is perfectly normal. Brief vibration as the pump kicks on and off is also typical. What’s not normal: persistent grinding, rattling, screeching, or banging. These unusual noises usually indicate a jammed or damaged impeller, worn bearings, or loose internal components. If you hear any of these, it’s time to call for professional help before a minor mechanical issue becomes a complete sump pump failure.
Share this post:


